

- Change major version of PHP CentOS
- Installation of VestaCP
- Preface
- Web interface
- Users
- Domains
- Databases
- DNS
- Cron
- Backup
- Safety
- Reports
- API
- Updates
- Buns
- Changing iptables rules
- Let’s Encrypt certificate installation
- In console
- Web interface basic operations
- Creating an FTP account
- Working with Cron Jobs
- Working with backups
- Creating a database
- Changing PHP settings
- Working with PhpMyAdmin
- Install custom SSL certificate
- Changing service configuration files
- Web server configuration files for the site
- Configuring open_basedir for Nginx+PHP-FPM
- Using multiple versions of PHP on a server with VestaCP
- Blocking IP addresses from which more than 100 requests to the site per second are received
- Panel installation
Change major version of PHP CentOS
To change the major PHP version of the operating system:
$ service httpd stop
$ yum remove php -y
$ wget http://dl.fedoraproject.org/pub/epel/6/x86_64/epel-release-6-8.noarch.rpm
$ wget http://rpms.famillecollet.com/enterprise/remi-release-6.rpm
$ rpm -Uvh remi-release-6*.rpm epel-release-6*.rpm
$ service httpd start
Time to read
If you are looking for a free, simple and user-friendly website control panel, VestaCP is for you. Many commercial control panels are much more functional, but also more complex. Vesta CP solves simple tasks simply and this is its advantage.
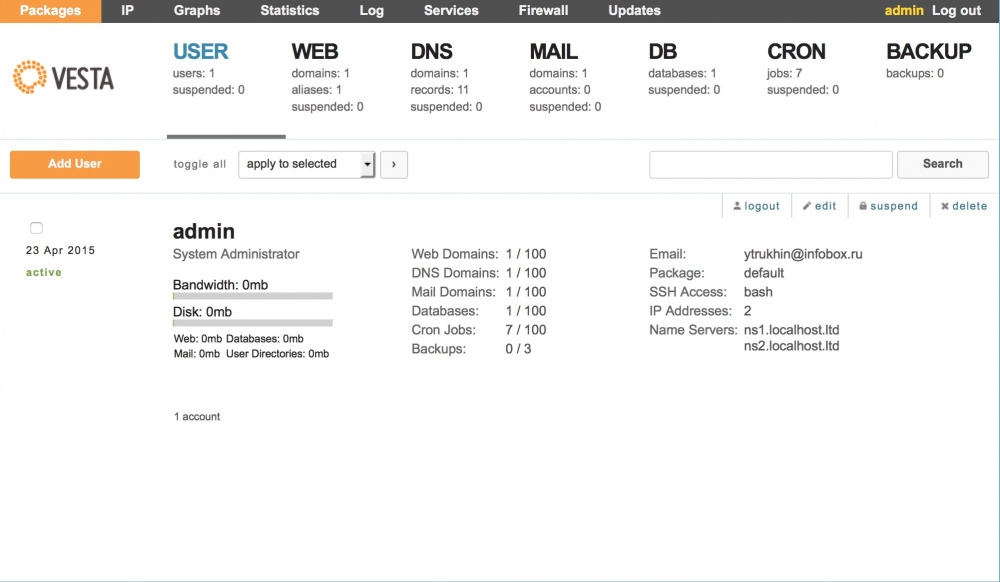
The author of the panel and permanent developer is Sergey Rodin.
In this article, we will walk through the process of installing VestaCP on a cloud VPS running Ubuntu 14.04 LTS. In subsequent articles, we will look at the process of using the panel.
Installation of VestaCP
If you don’t have a cloud VPS yet, order it. After ordering, log into the control panel and create a cloud server. When creating a server, do not forget to allocate a public IP address for the client and set a sufficient network speed.
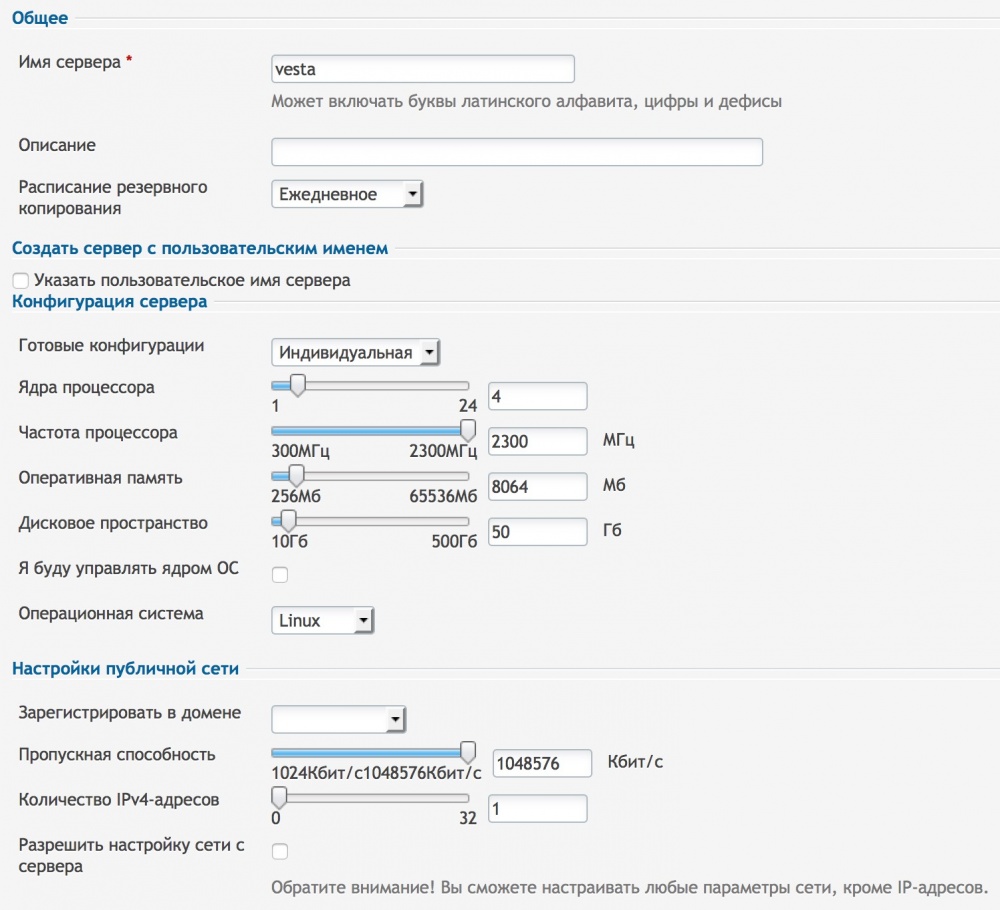
There are 4 groups of servers for which VestaCP chooses its own installation method:
VestaCP anti-spam and anti-virus modules are installed only in Medium and Large configurations. The Micro configuration does not support the phpfcgi template. However, if you still need these modules, you can install them additionally after installing VestaCP.
In the next step of creating a cloud server, select Ubuntu 14.04.
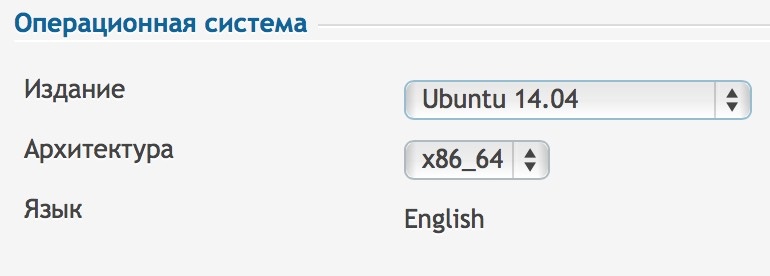
Finish creating the server. Access data will be sent to your email. Connect to the server via SSH.
Installing VestaCP on Ubuntu 14
1. Generate UTF-8 locale:
update-locale LANG=en_US.utf8 LC_CTYPE=en_US.utf8 LC_ALL=en_US.utf8
2. Update the OS by running the command:
apt-key update && apt-get update && apt-get -y upgrade
When upgrading, you will be prompted to configure Postfix, you can select «No Configuration» and press Enter.
3. Remove apache2:
apt-get -y purge apache2 apache2-bin apache2-data apache2-doc apache2-utils
4. Install CURL:
apt-get -y install curl
5. Download VestaCP installation script:
curl -O http://vestacp.com/pub/vst-install.sh
6. Run the installation:
7. Accept the offer to install VestaCP by typing «y» and pressing Enter.
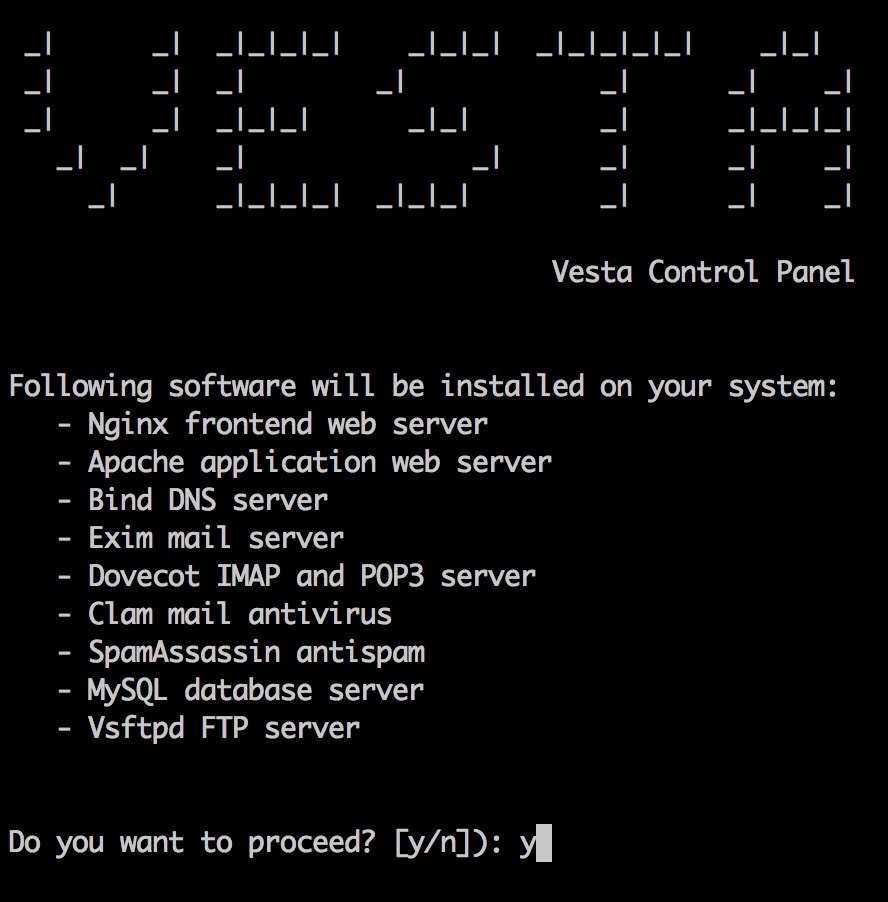
Enter your email address and server name during installation. After that, the installation process will begin, which usually takes about 15 minutes.
After installation, you will see the data to access the control panel. Save them.

Open VestaCP in a browser at the specified address and enter the control panel. The browser will notify you that its own certificate is being used.
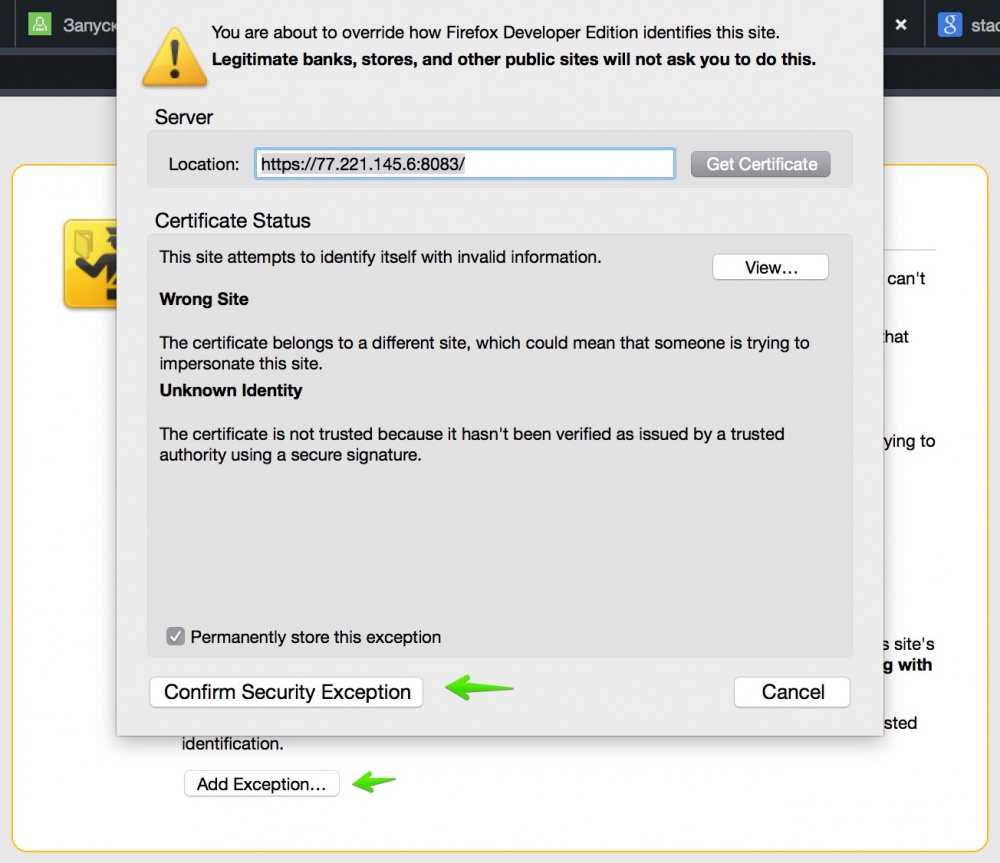
Add the site address to the exceptions and continue to enter the panel.
VestaCP is now ready for use. In the following articles, we will look at how easy it is to work with VestaCP. You can do a lot right after installing VestaCP without additional instructions thanks to the simplicity of the panel.
When you work for a hosting company, most of your friends and acquaintances resolve all their hosting issues through you. This allows you to be in the trend of the latest innovations, as well as not only increase your skills, but also keep them in good shape. As soon as the special it became difficult for the guys to solve the tasks on the hosting server, usually due to the lack of the ability to install the necessary software for the operation of a particular script, I immediately thought about an inexpensive virtual server, especially since we have them. We also understood that it would be easier to work with the server through a convenient web interface, and a good control panel would be, after all, by the way. And if it is also free, then we will only be in the black. Without hesitation, I opened a browser and began to google free hosting control panels.

Realizing that studying each one will take time, I also decided to ask our experienced administrator for advice, to which I received a short answer:
Look towards Vesta.
There was an attempt on my part to draw his attention to the fact that there are other free products:
Yes, I heard, but in general there are enough of them: Ajenti, CentOS Web Panel, etc.
But the head of tech. department gave a rather expected answer:
These are not very popular in our circles.
Preface
I will not change my habits — I will install CentOS on a virtual server (the panel also supports Debian, Ubuntu) and connect to it via SSH. To do this, if you are using a MacBook, launch the Terminal and enter the following command:
We confirm the connection, specify the superuser password, and after all these actions we get to the console. If you are a Windows user, then use the PuTTY terminal emulator to work with the server.
Next, upload the necessary installation files to the server using the command:
Before proceeding with the actual installation process, I would like to inform you that the panel installer automatically classifies servers into the following 4 groups:
Depending on the technical characteristics of your server, in this case, the amount of RAM, the installer will automatically install a certain set of packages and Vesta panel configs. For example, the antivirus package will work correctly (according to the developers’ recommendations) starting from the medium version, and php cgi support, in turn, is available for the entire group of servers except micro. But nothing prevents you from installing the missing software manually.
We continue the process of installing the panel, for this we run the script using the command:
You should get the following message on the screen:
We confirm our actions with the key y (yes). Next, you will need to specify your email:
The installer may then ask you to enter a hostname:
The installation process itself can take about 15 minutes. Looking ahead a little, I would like to say that if you install the Vesta panel on one server, then entering all the necessary data during installation should not take much time. But if you need to prepare several dozens of servers with this panel, quite recently one of our clients set such a task, then we advise you to run the installation script with the h (help) key:
bash vst-install.sh -h
And see the full list of available options:
Which, in turn, will allow you to install «for yourself», as well as help speed up the process of setting up a whole «fleet of cars». The easiest way to skip entering additional data during the installation of the panel is to disable the interactive mode, as a result, run the installation script with the y (interactive) key and the no parameter.
bash vst-install.sh -y no
If you also want to set a password for accessing the panel yourself, then add the p (password) key with your own password option:
bash vst-install.sh -y no -p xxxxxxxxx
For those users who are not thrilled to conduct a «debriefing» in the console, the developers have made a convenient web options configurator, which greatly simplifies the process of custom installation. Just in the Advanced Install Settings section, we set the necessary parameters, after which we press the Generate Install Command button and paste the ready-made command into the console. How do you like this installation option?
When the installation is completed, the following message will be displayed on the screen:
Web interface
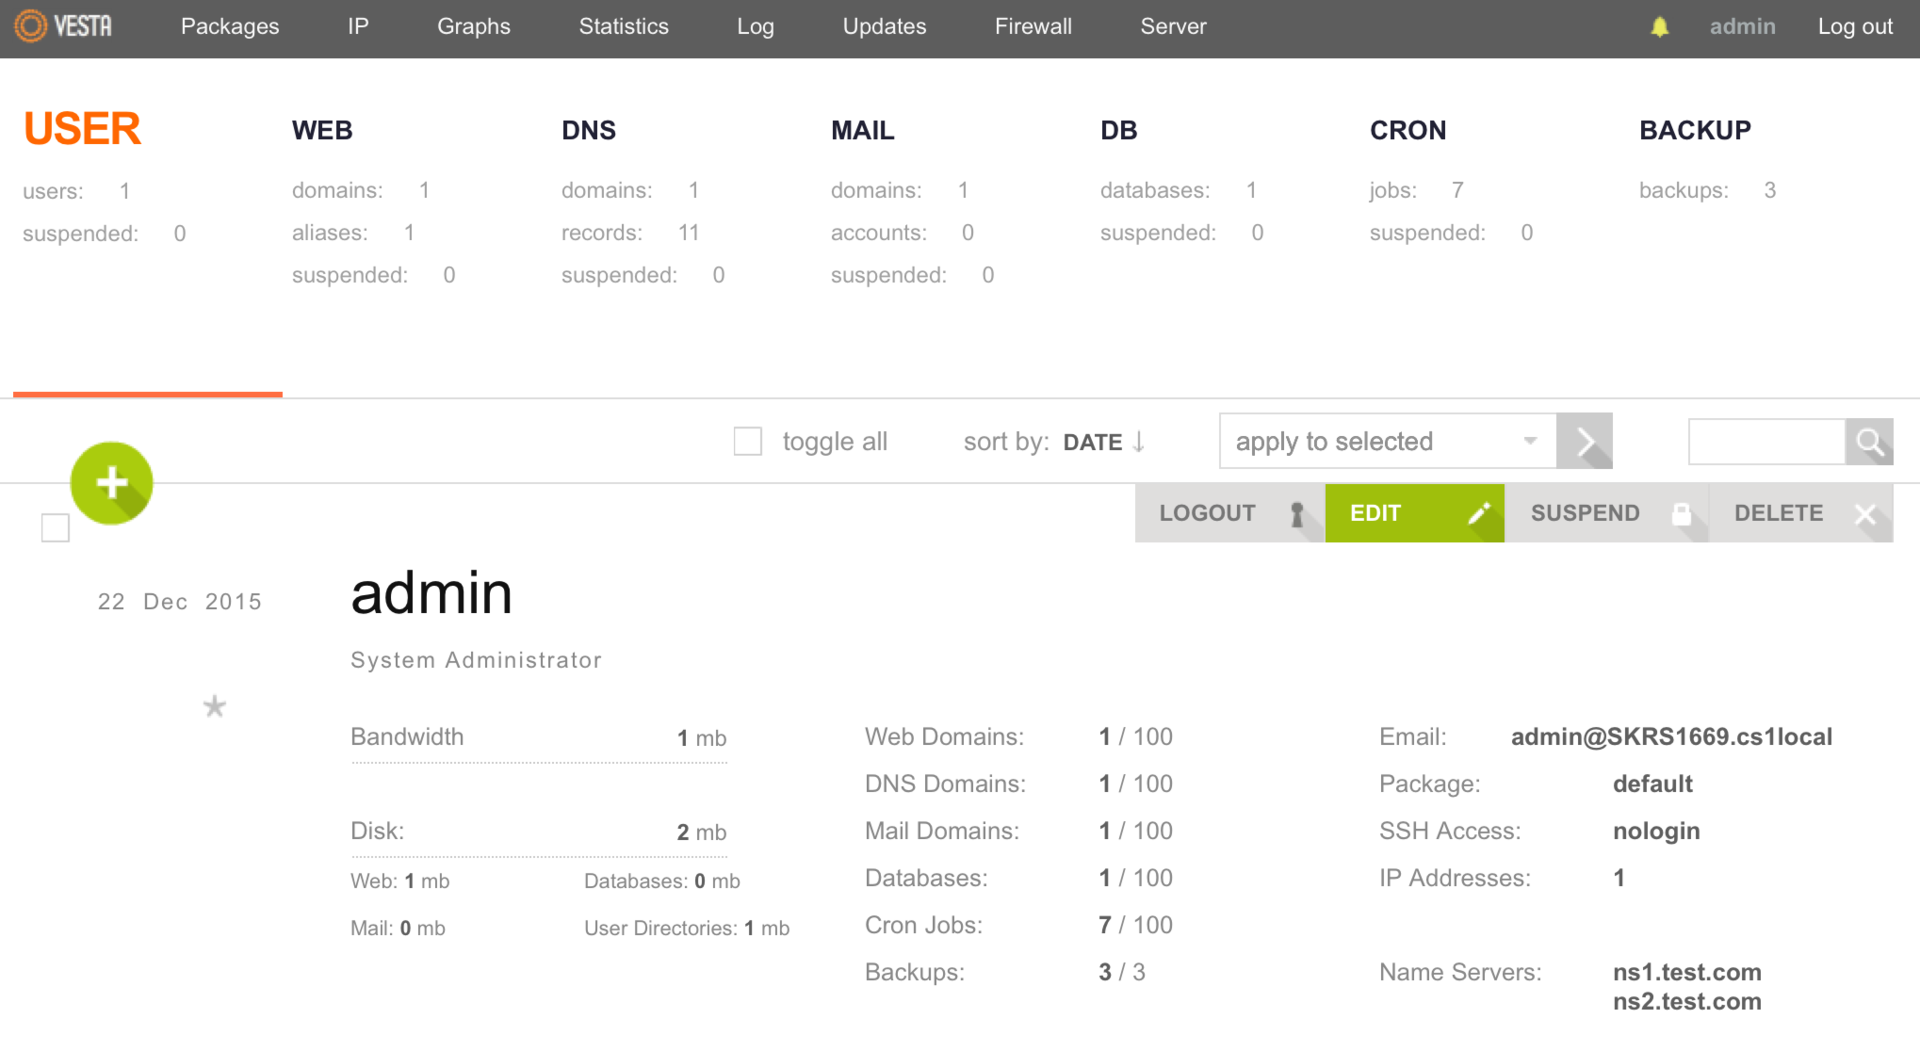
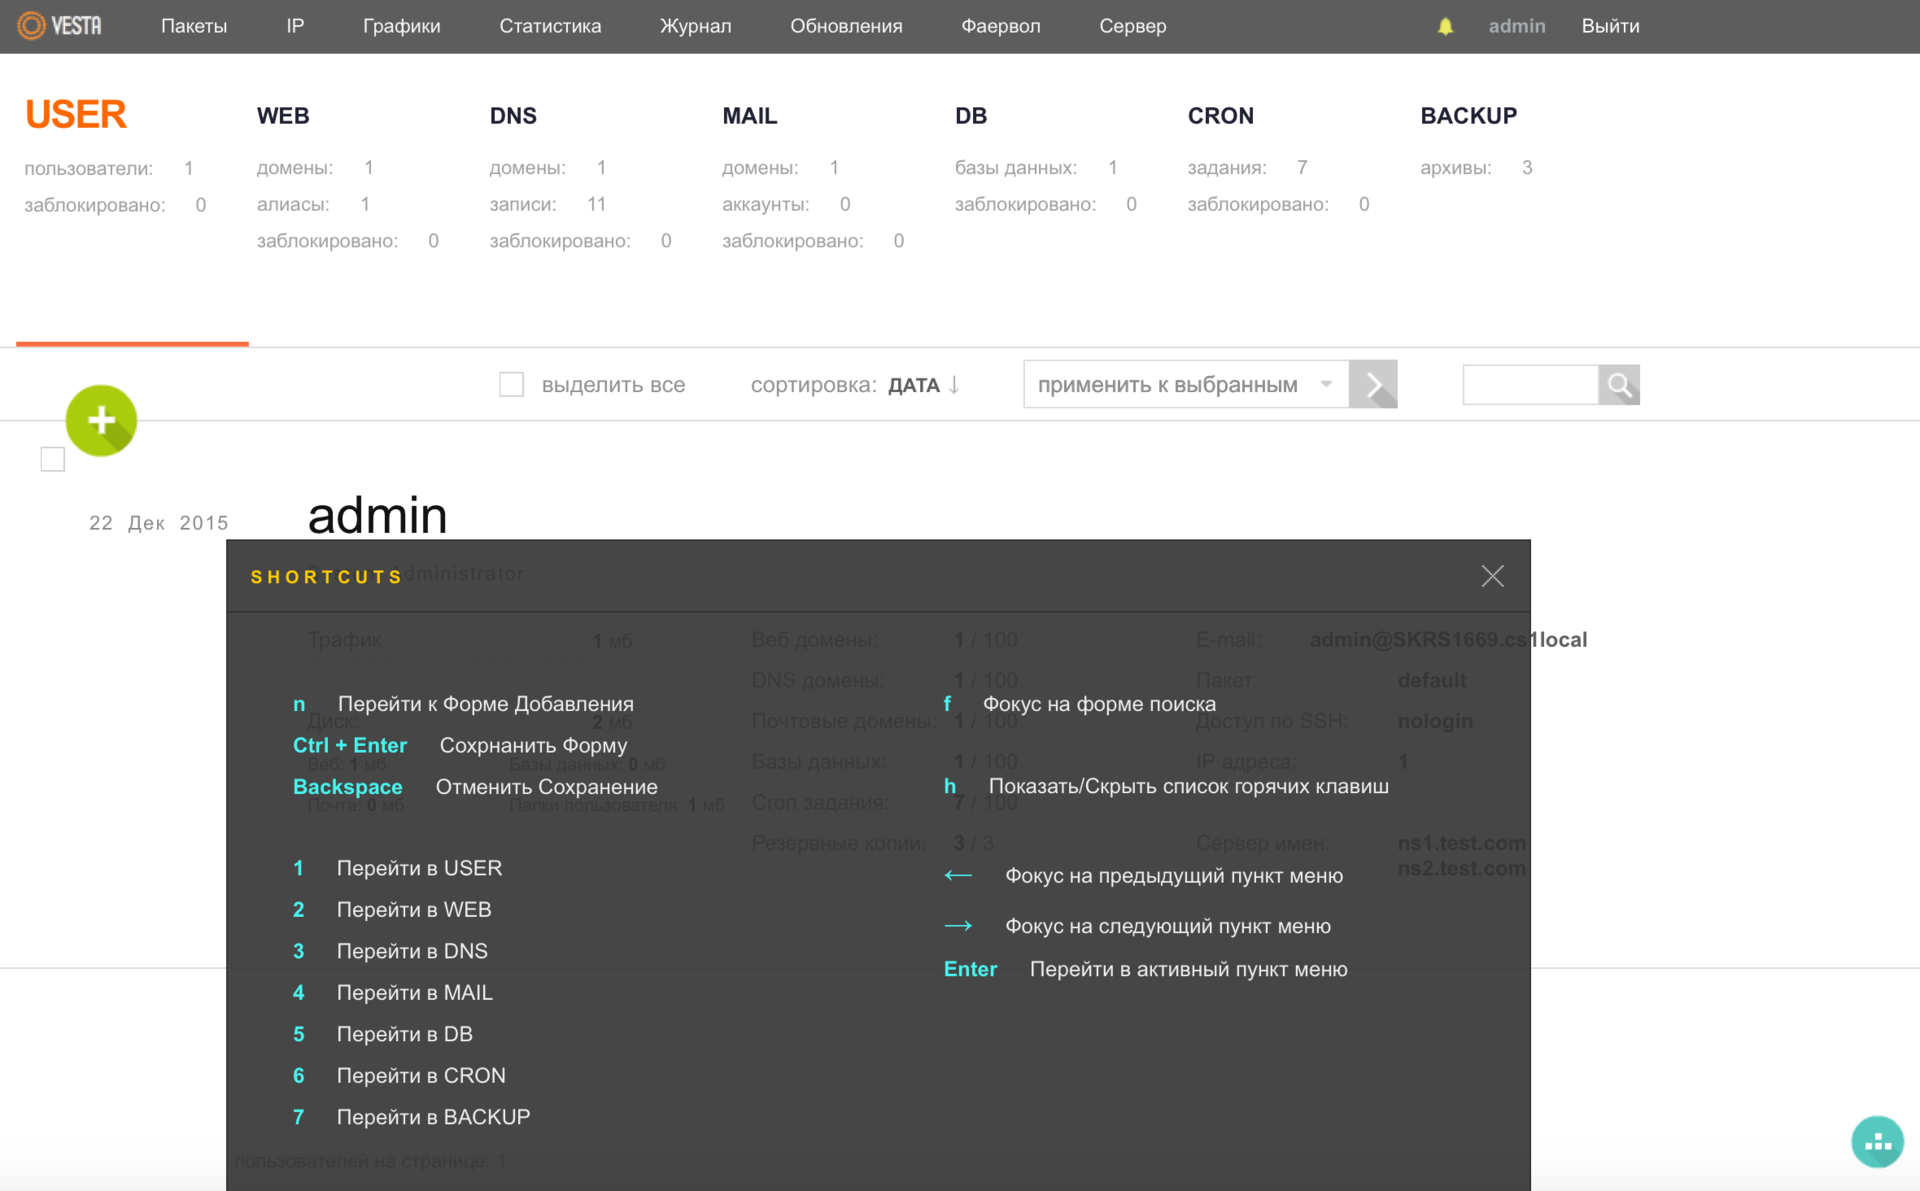
Hotkeys (SHORTCUTS) are also very helpful in working with the panel, which simplify menu navigation and allow you to control using the keyboard. To open a list of all available SHORTCUTS, use the h key on your keyboard or one of the buttons in the lower right corner of the screen.
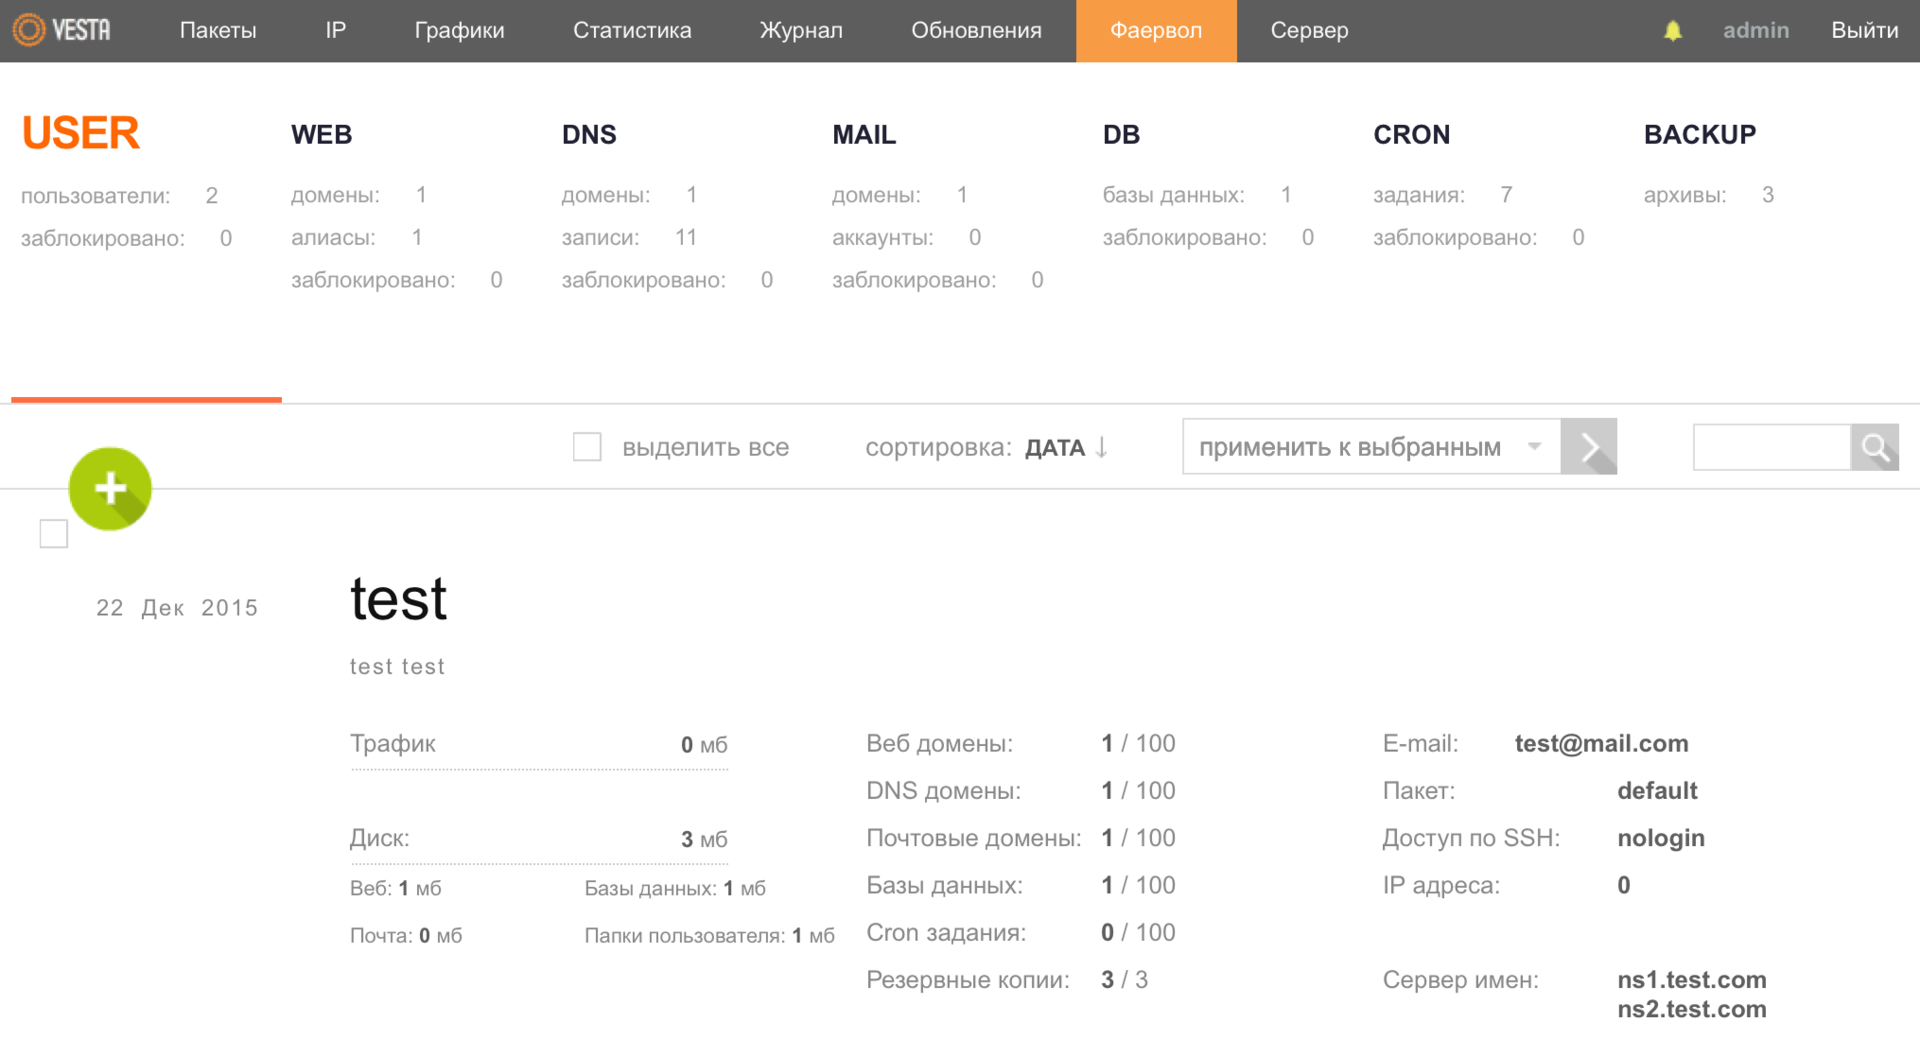
Users
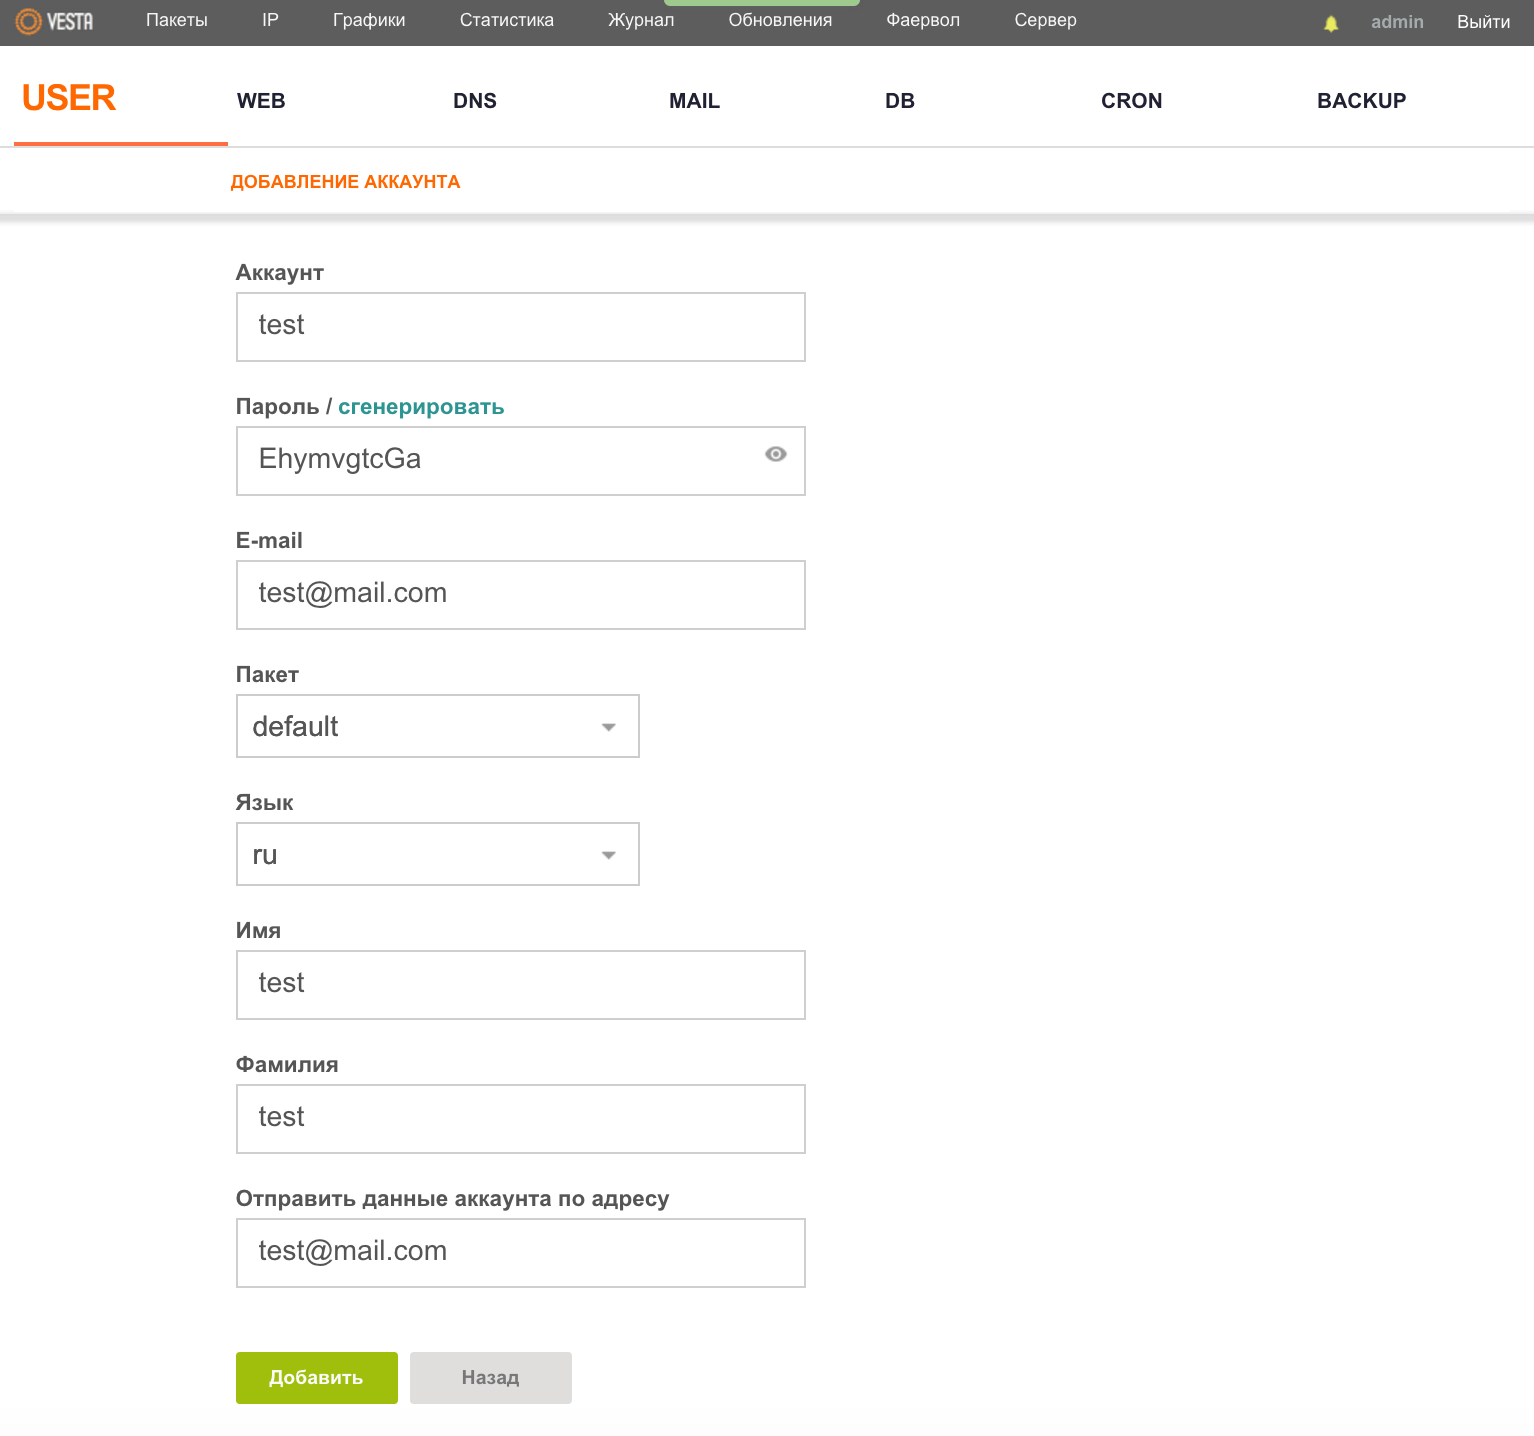
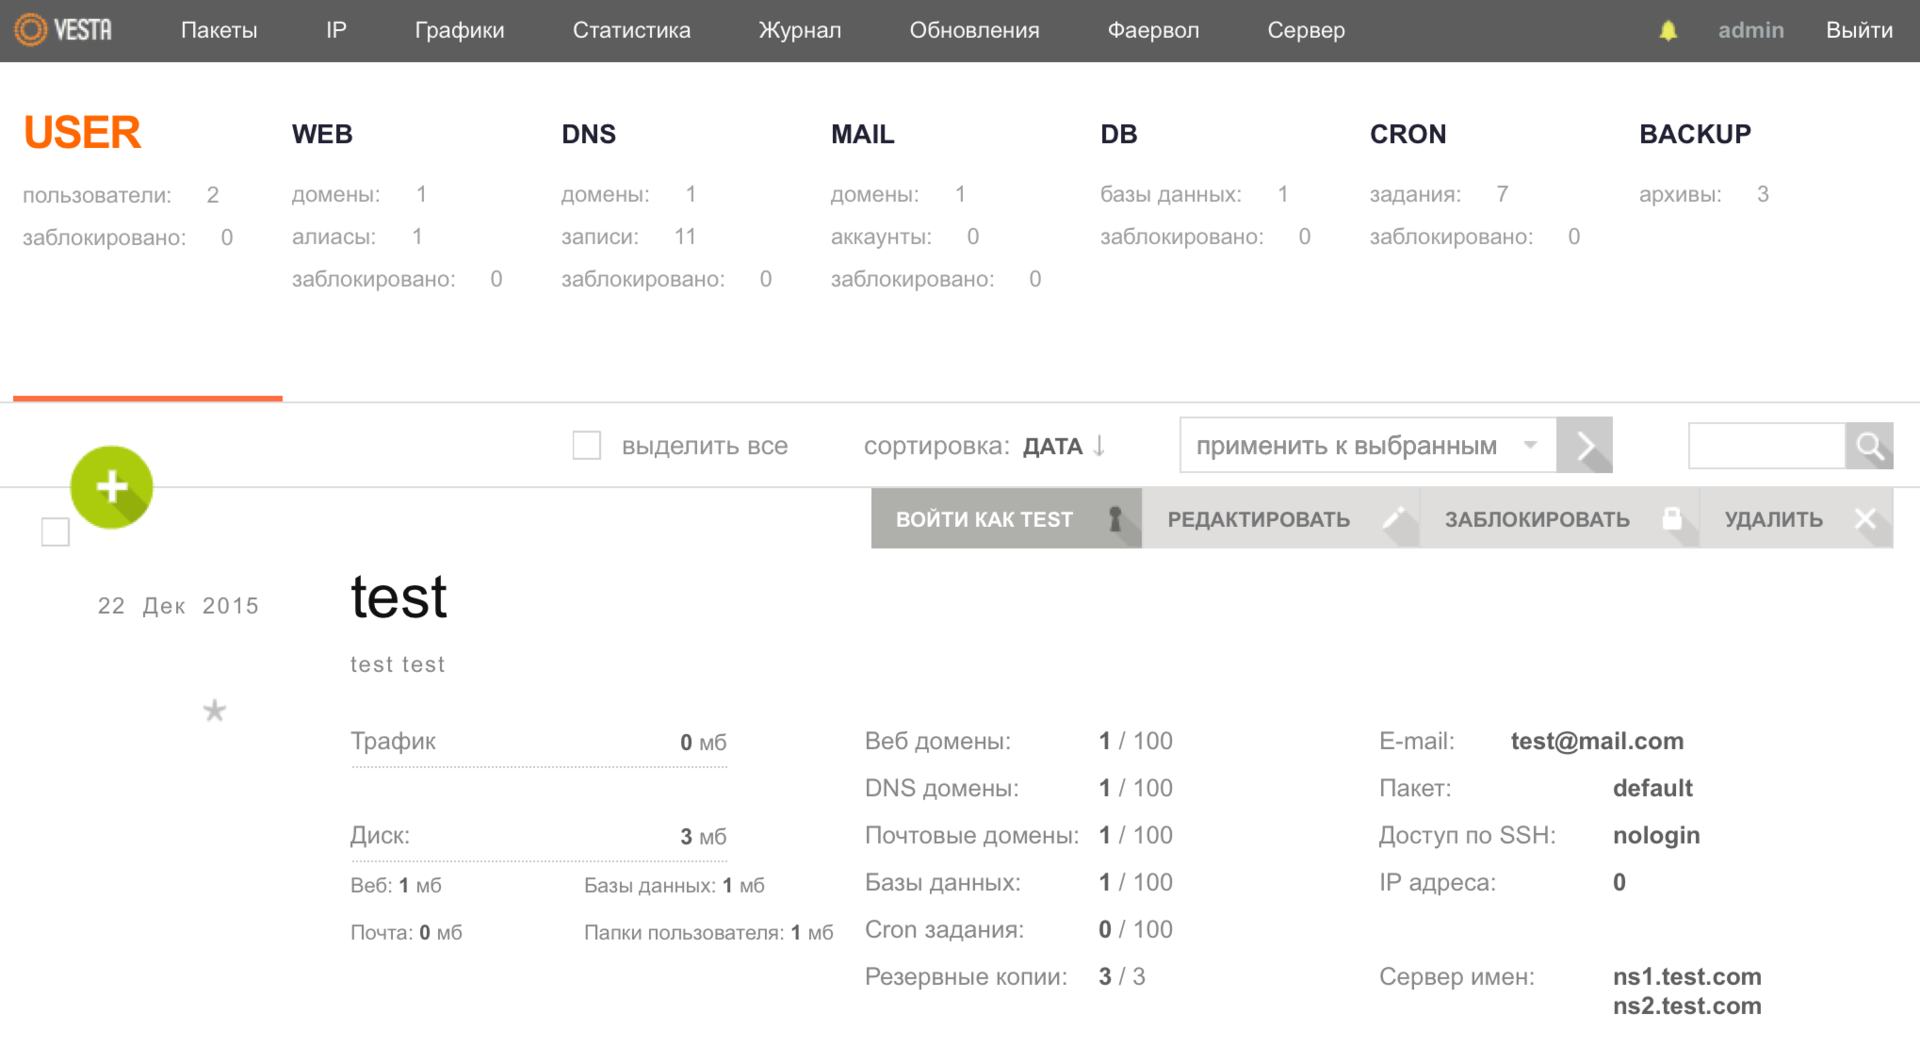
Domains
Now we can add our website. To do this, go to the WEB menu and use the a key to call up a window in which we fill in the necessary data.
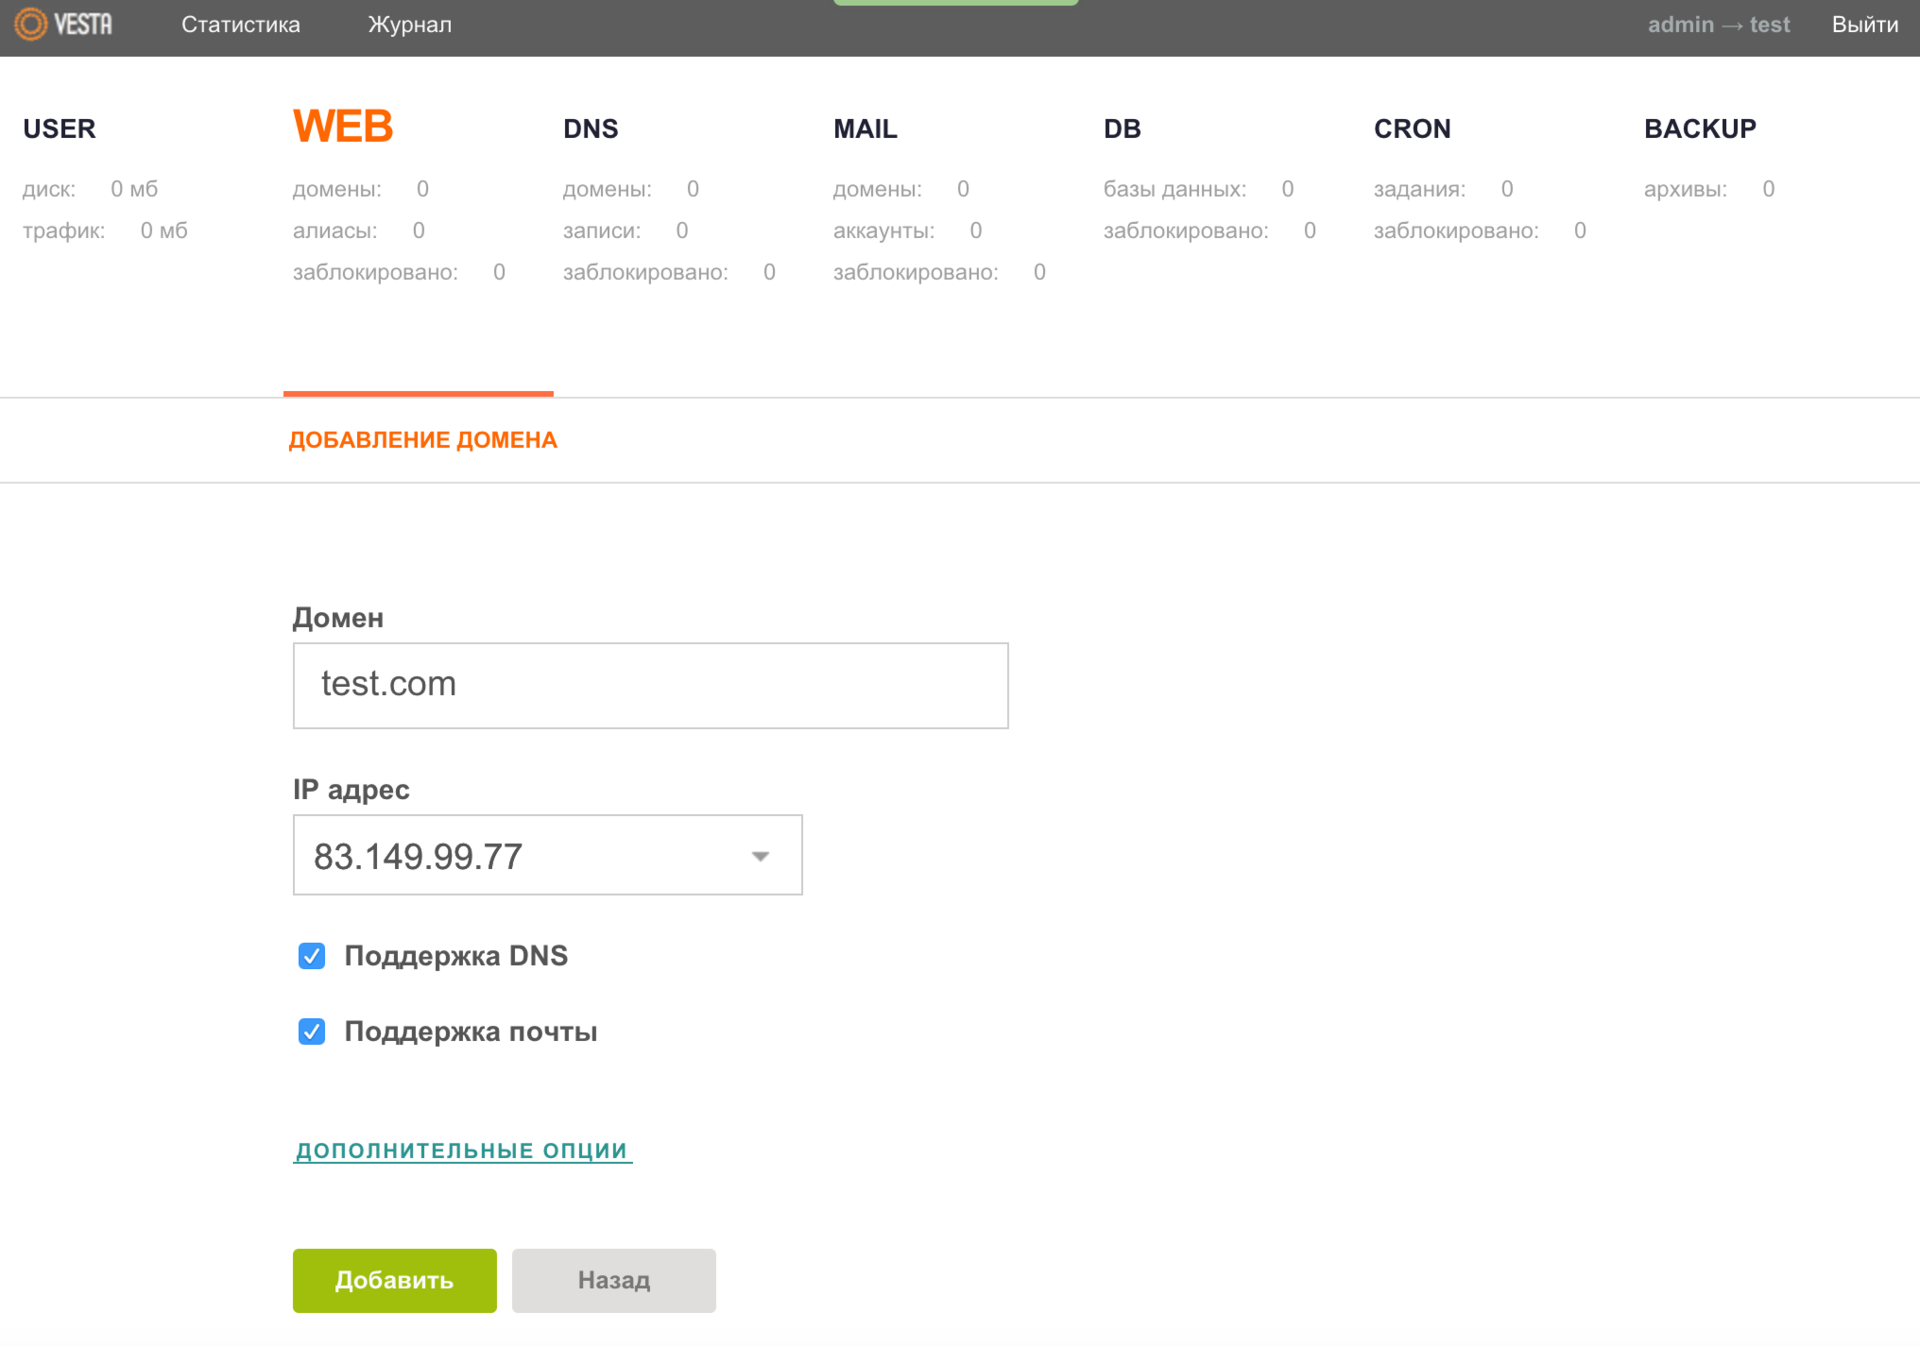
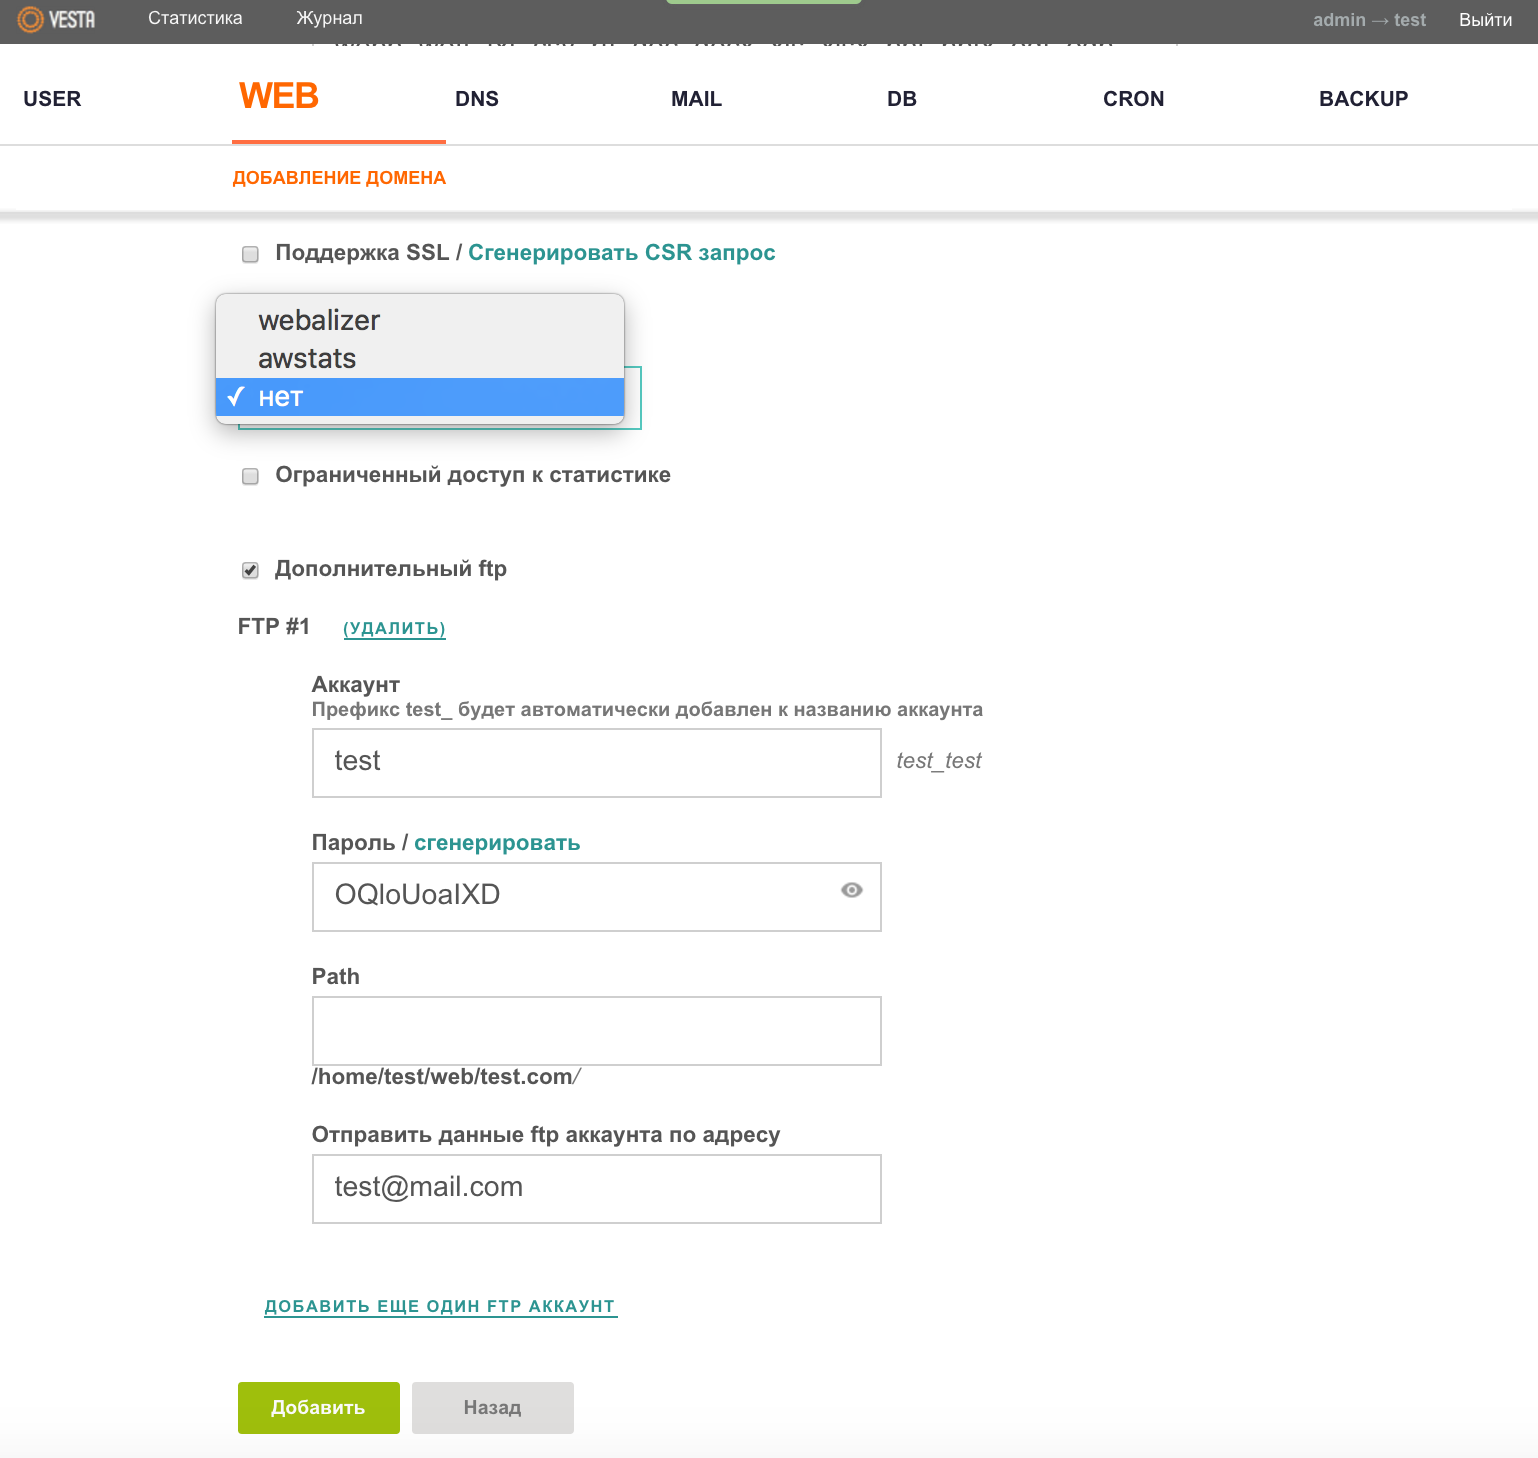
I immediately recommend opening ADDITIONAL OPTIONS and activating an additional FTP account by filling in the appropriate fields. And for lovers of statistics, there is also the possibility of connecting your resource to Webalizer or AWStats.
Databases
It’s time to create a database (DB) for your project. Everything is quite simple — we go to the DB menu and again, using the burning key a, we call up a window where we fill in the required fields.
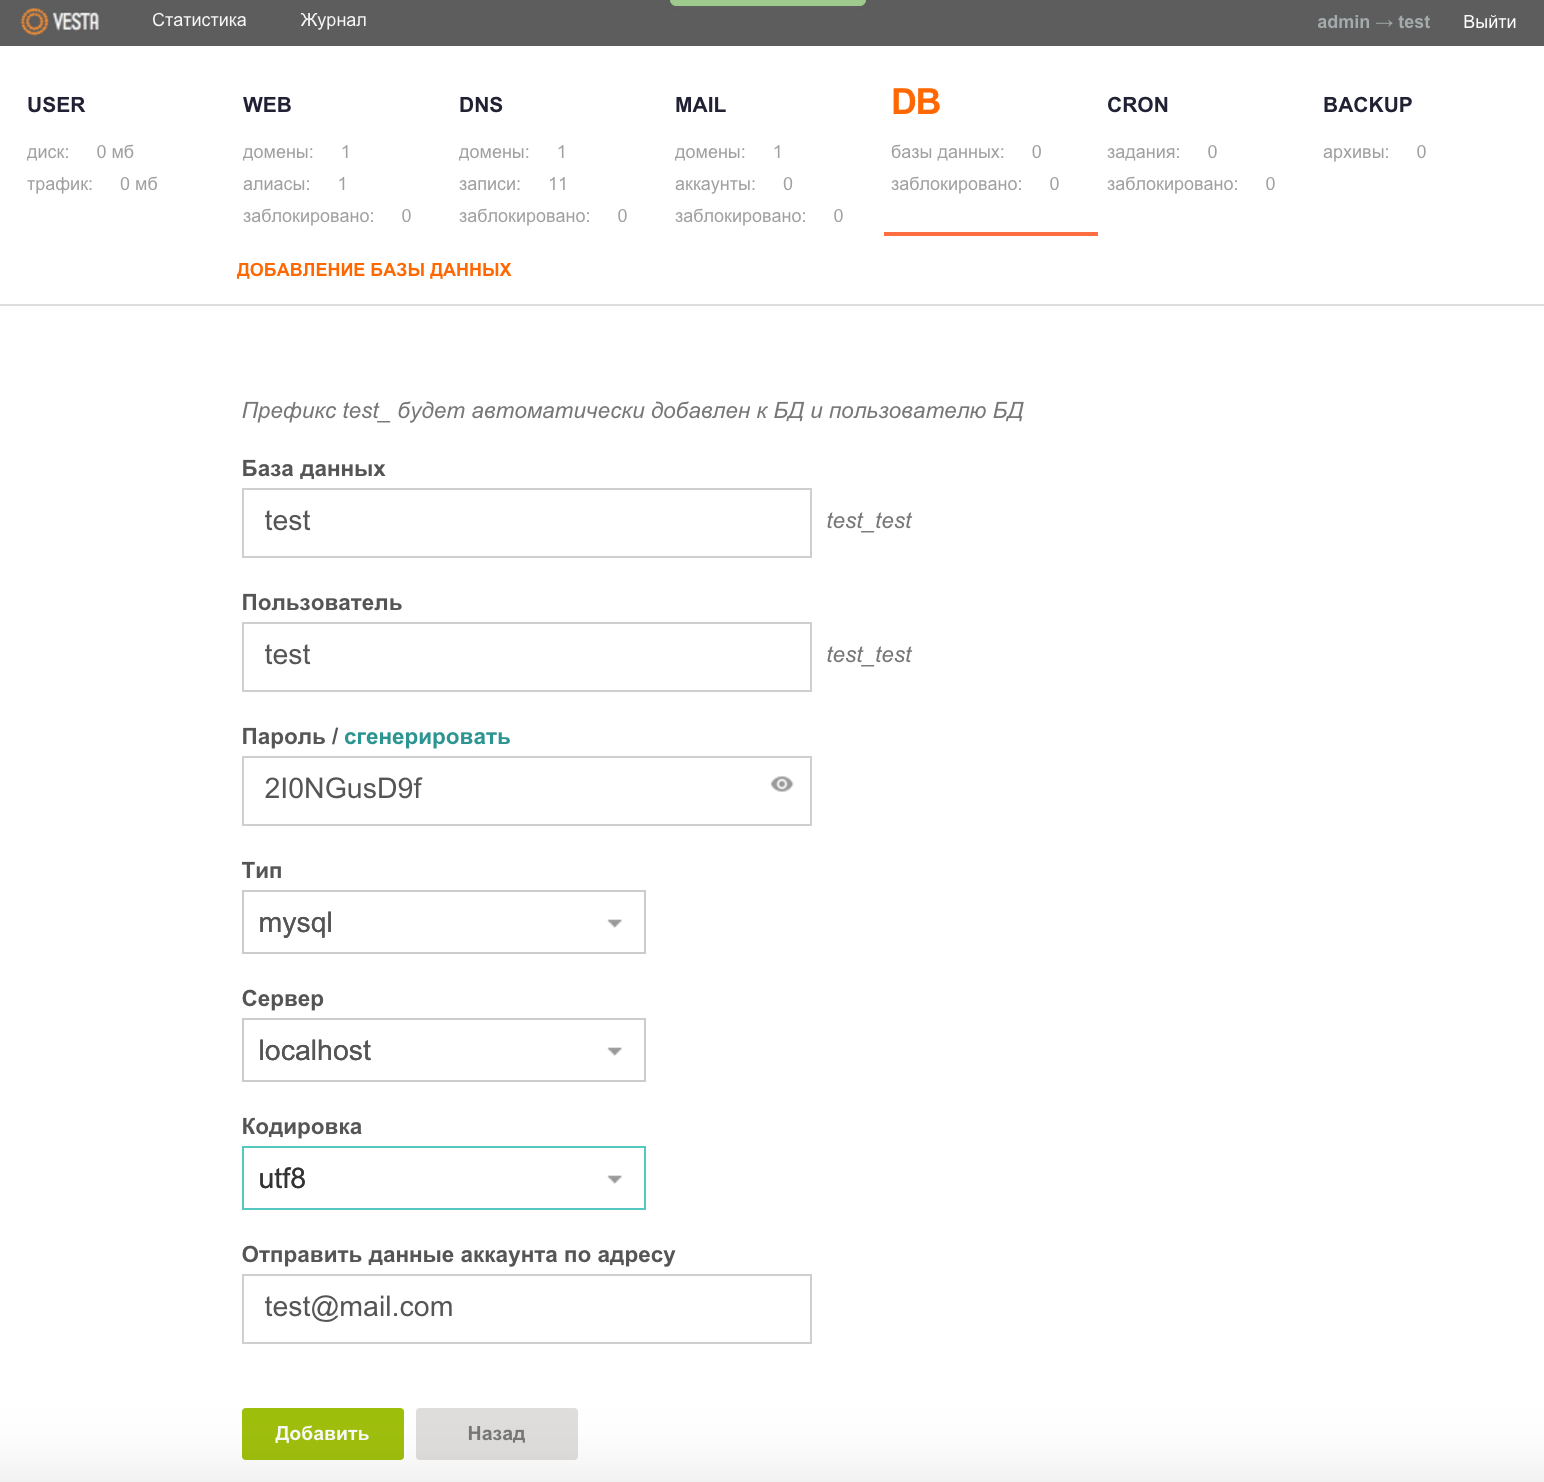
Do not forget to save all the entered data using the «Add» button. Then you can safely upload the necessary CMS or script to the hosting, on which your project will “spin”, and carry out additional settings for releasing the site into production.
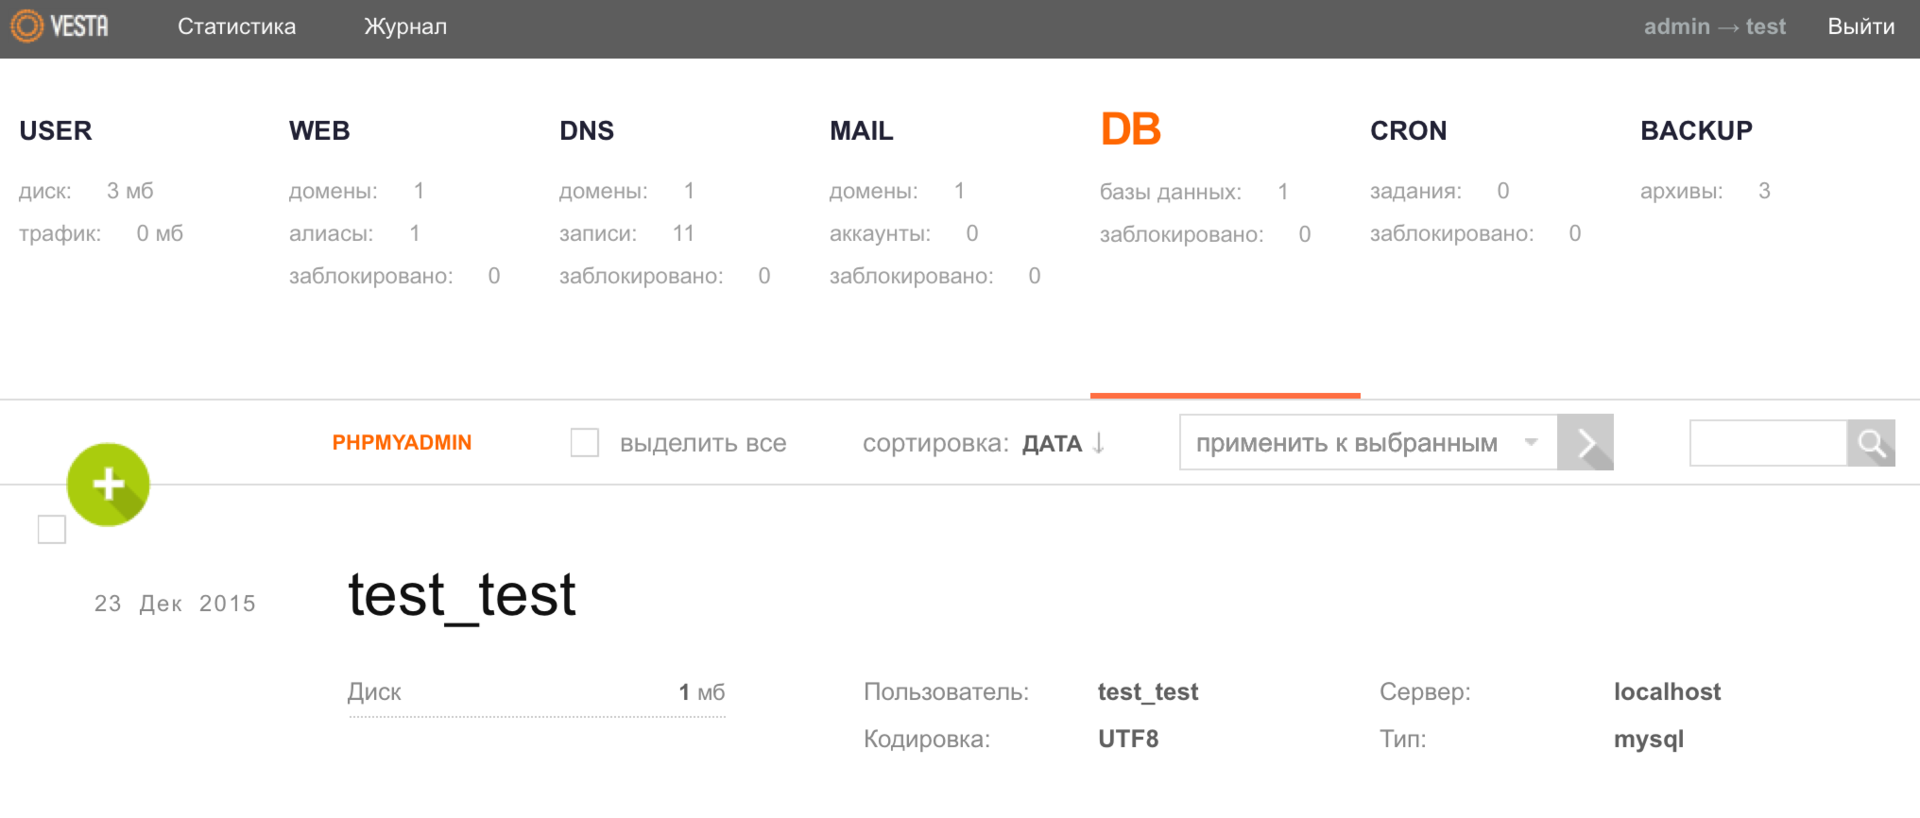
The Vesta panel also allows you to host a database on a remote server, as an option, you can build a solution from several web servers and maintain them using one more productive server.
Here you can dwell on the additional settings in more detail, and, perhaps, we will start with the mail, or rather, with the mail domain settings. If we go to the MAIL menu, we will see that we already have a mail domain, which was automatically created along with adding the domain itself to the panel.
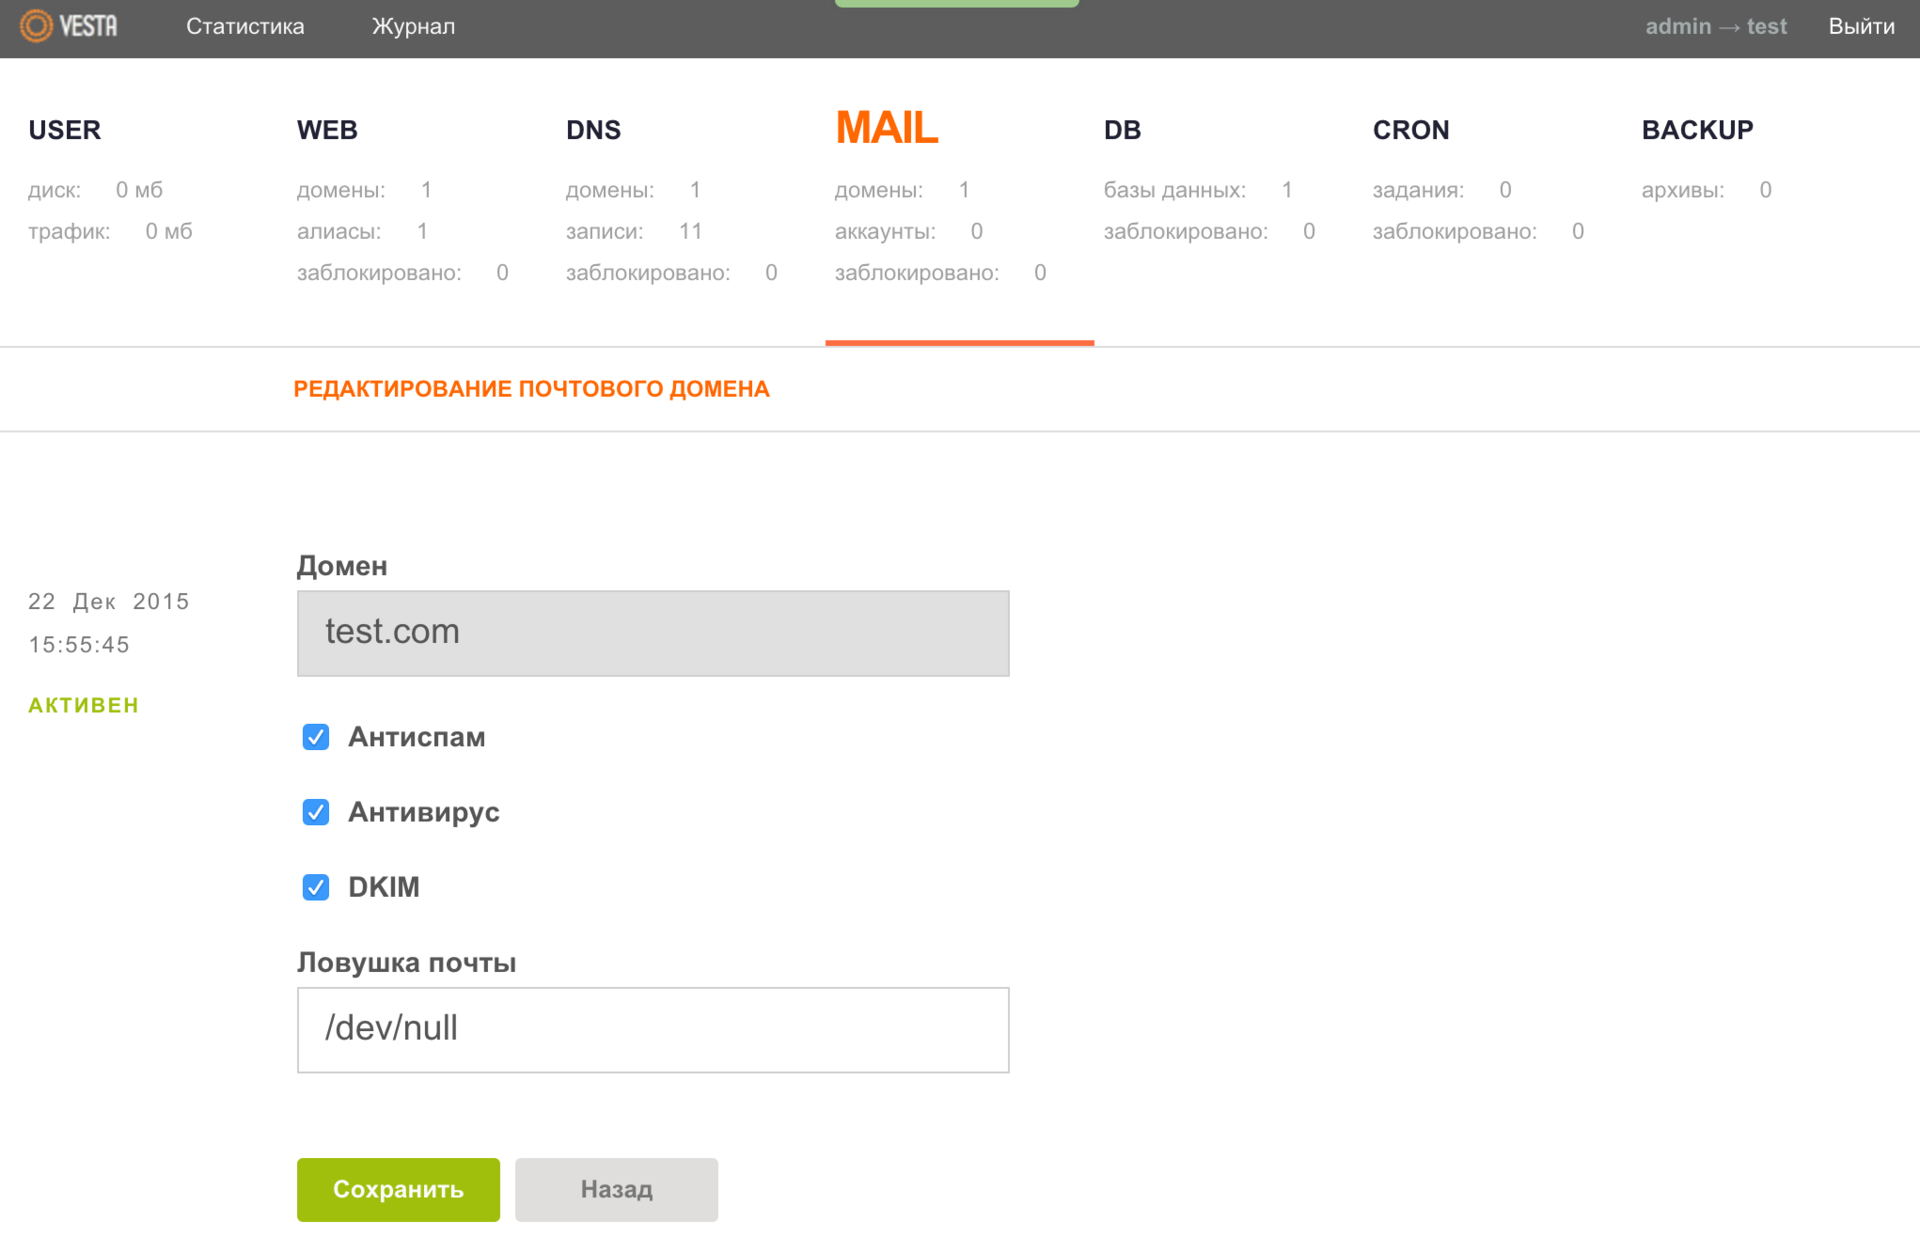
When editing the data of this domain, please note that in the «Mail Trap» field you can optionally specify a mail account (not necessarily a local one) where mail from non-existent accounts will be redirected. By default, the /dev/null file is specified there, which means only one thing — all incoming mail should be deleted.
Let’s move on, it’s time to create a mailbox. Select the required email domain and click the ADD ACCOUNT button.
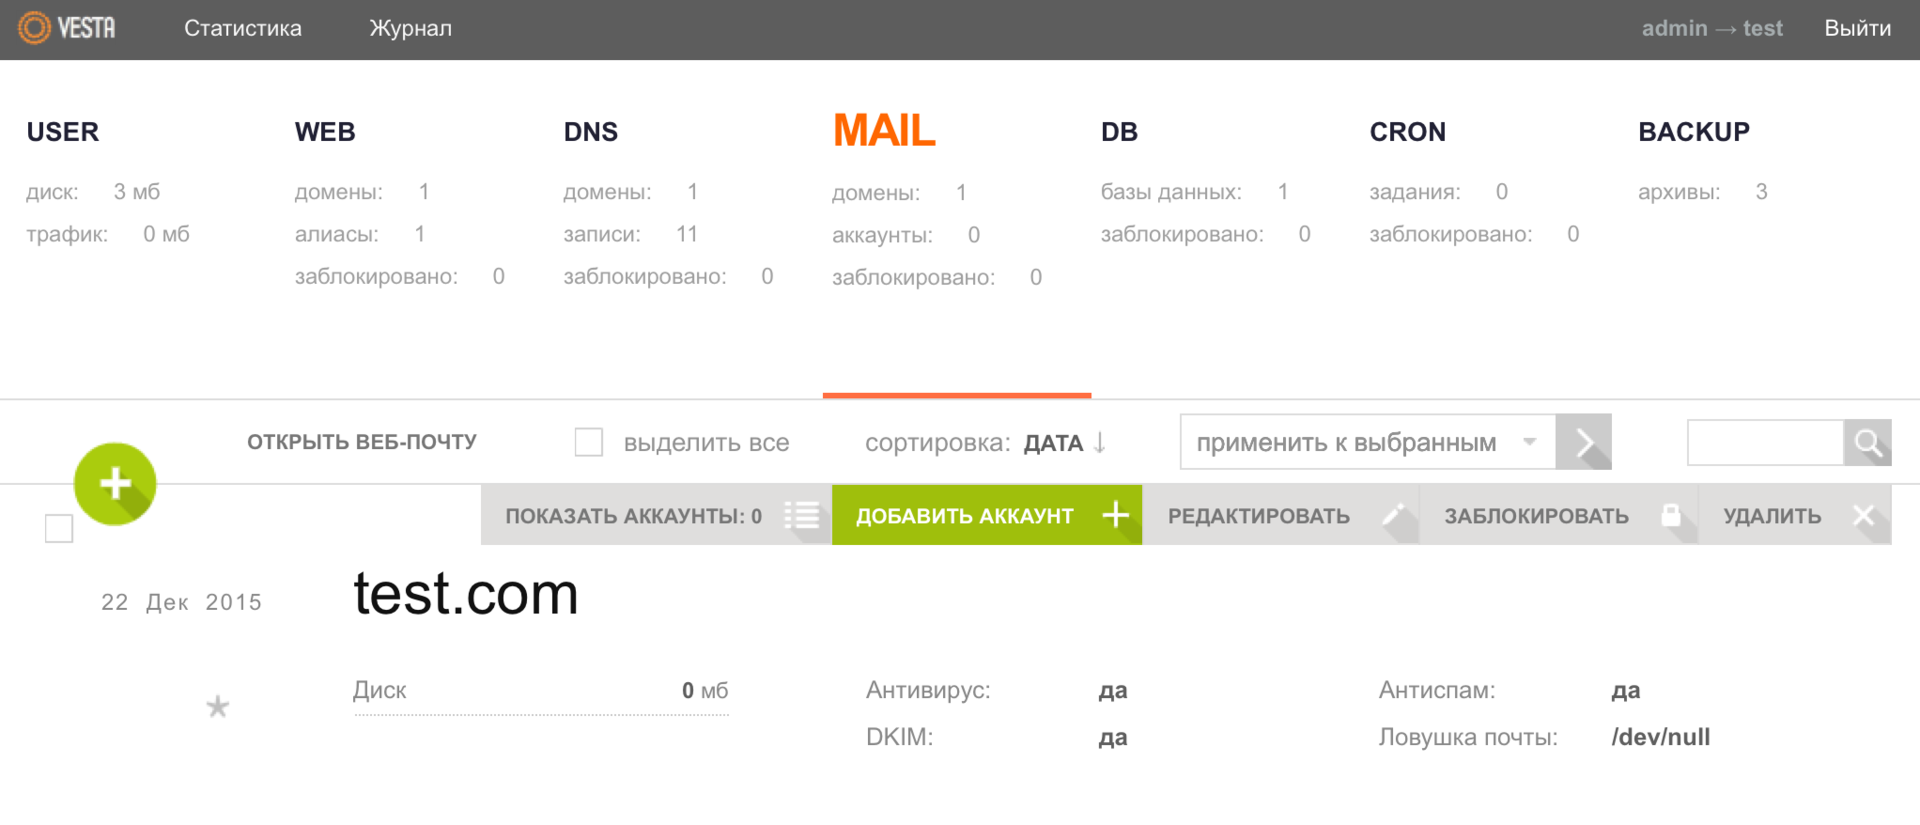
Here you can expand the ADDITIONAL OPTIONS tab and specify the quota for the size of the mailbox in MB, as well as the account for mail forwarding. As usual, save the specified data using the «Add» button.
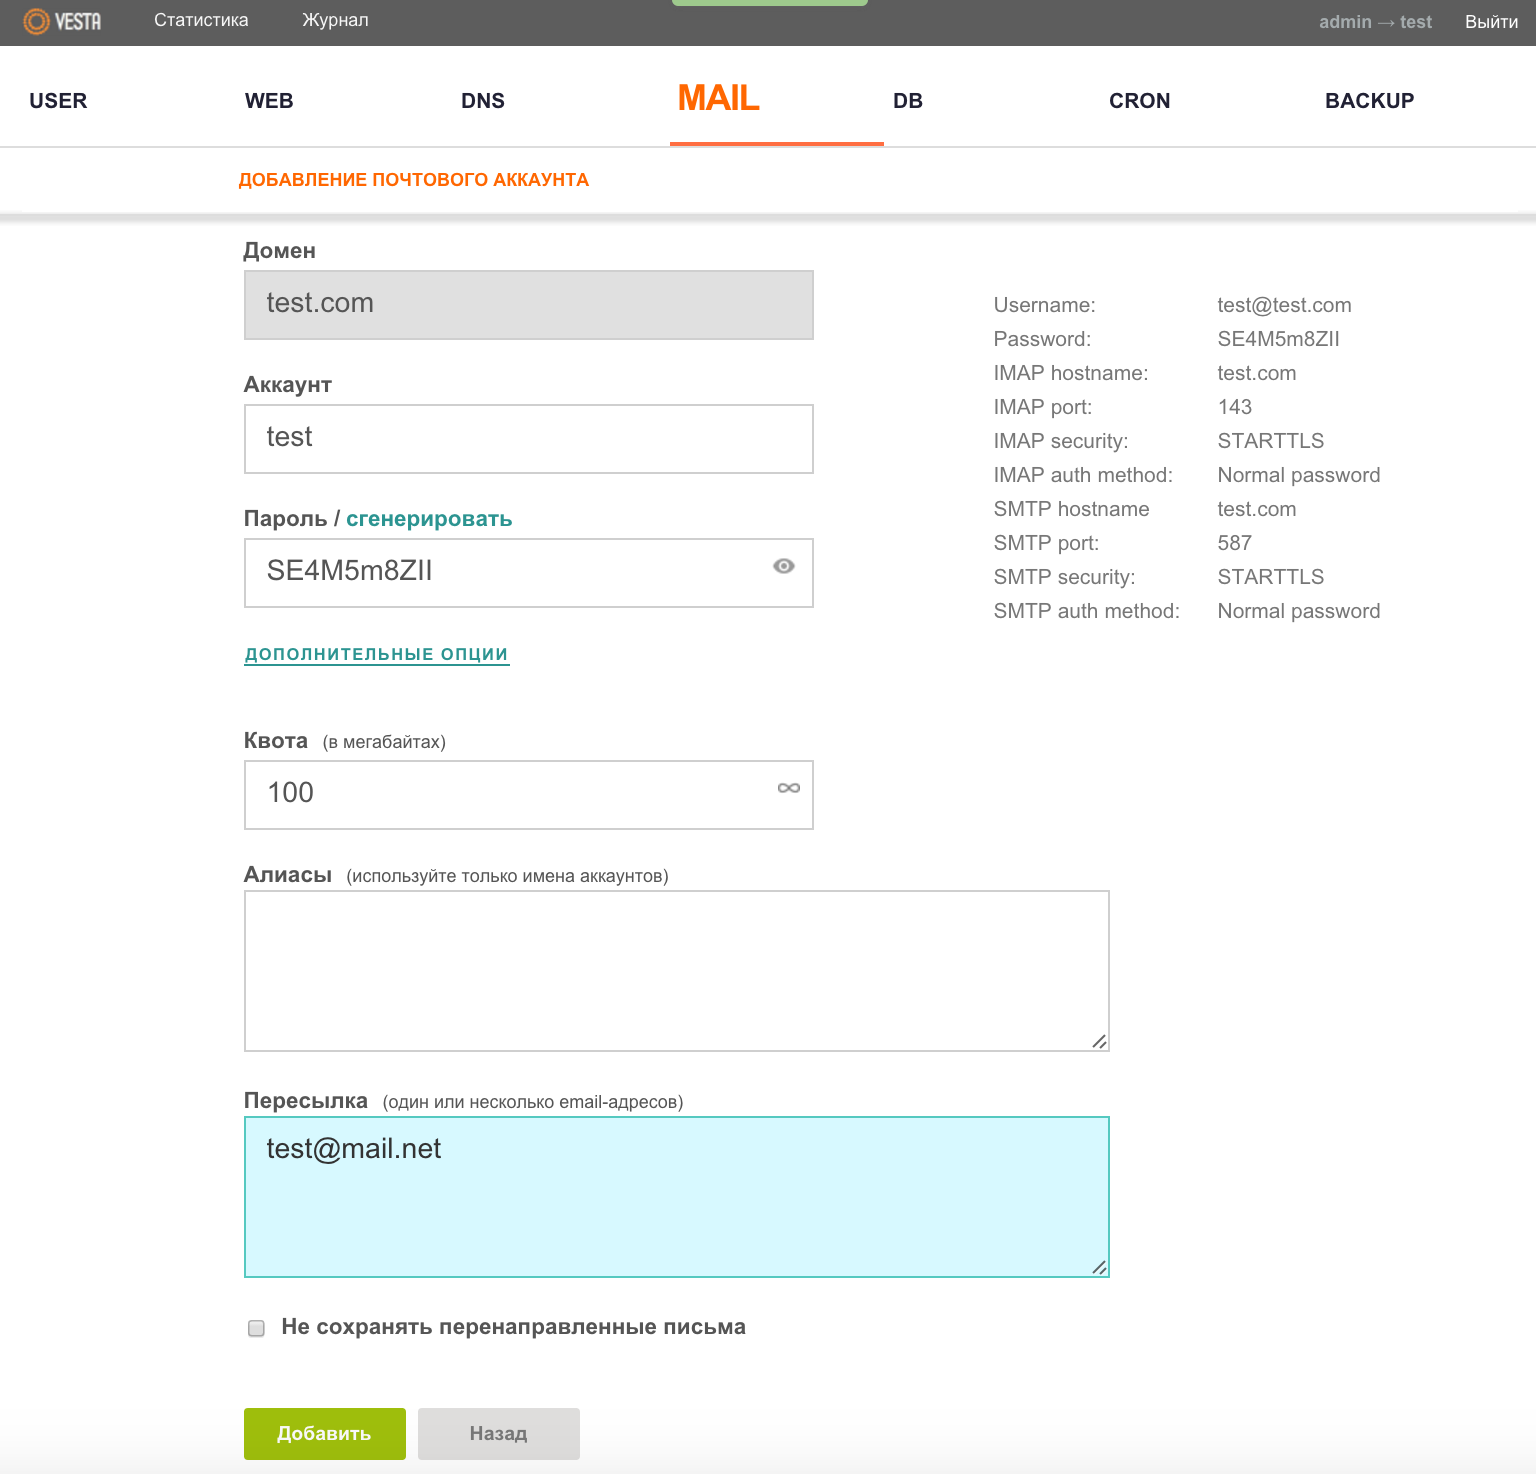
To work with e-mail, the Roundcube client is used, the button of which (OPEN WEB MAIL) becomes available in the MAIL menu immediately after adding at least one mail domain to the panel.
DNS
Probably one of the most difficult moments of working with the hosting control panel for novice users is setting up DNS. But here, too, the development team tried to simplify the task as much as possible by creating a template. After we make the necessary settings on the side of the domain name registrar, you need to click the EDIT button in the DNS menu for a specific domain.
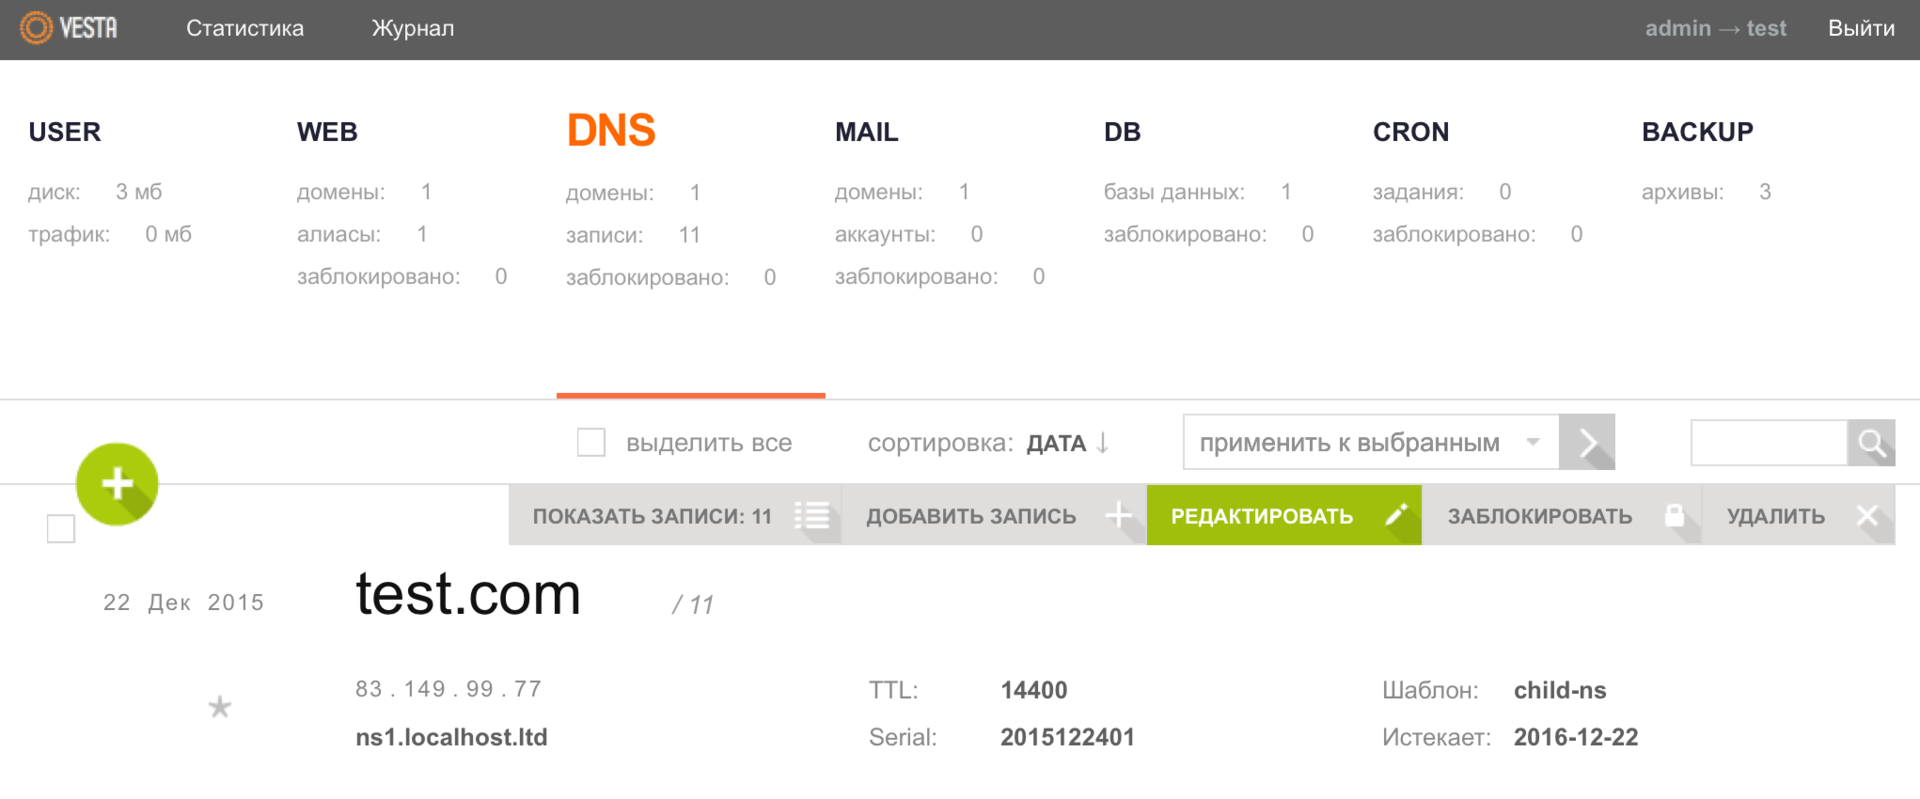
And in the Template field, select child-ns, and then save the changes.

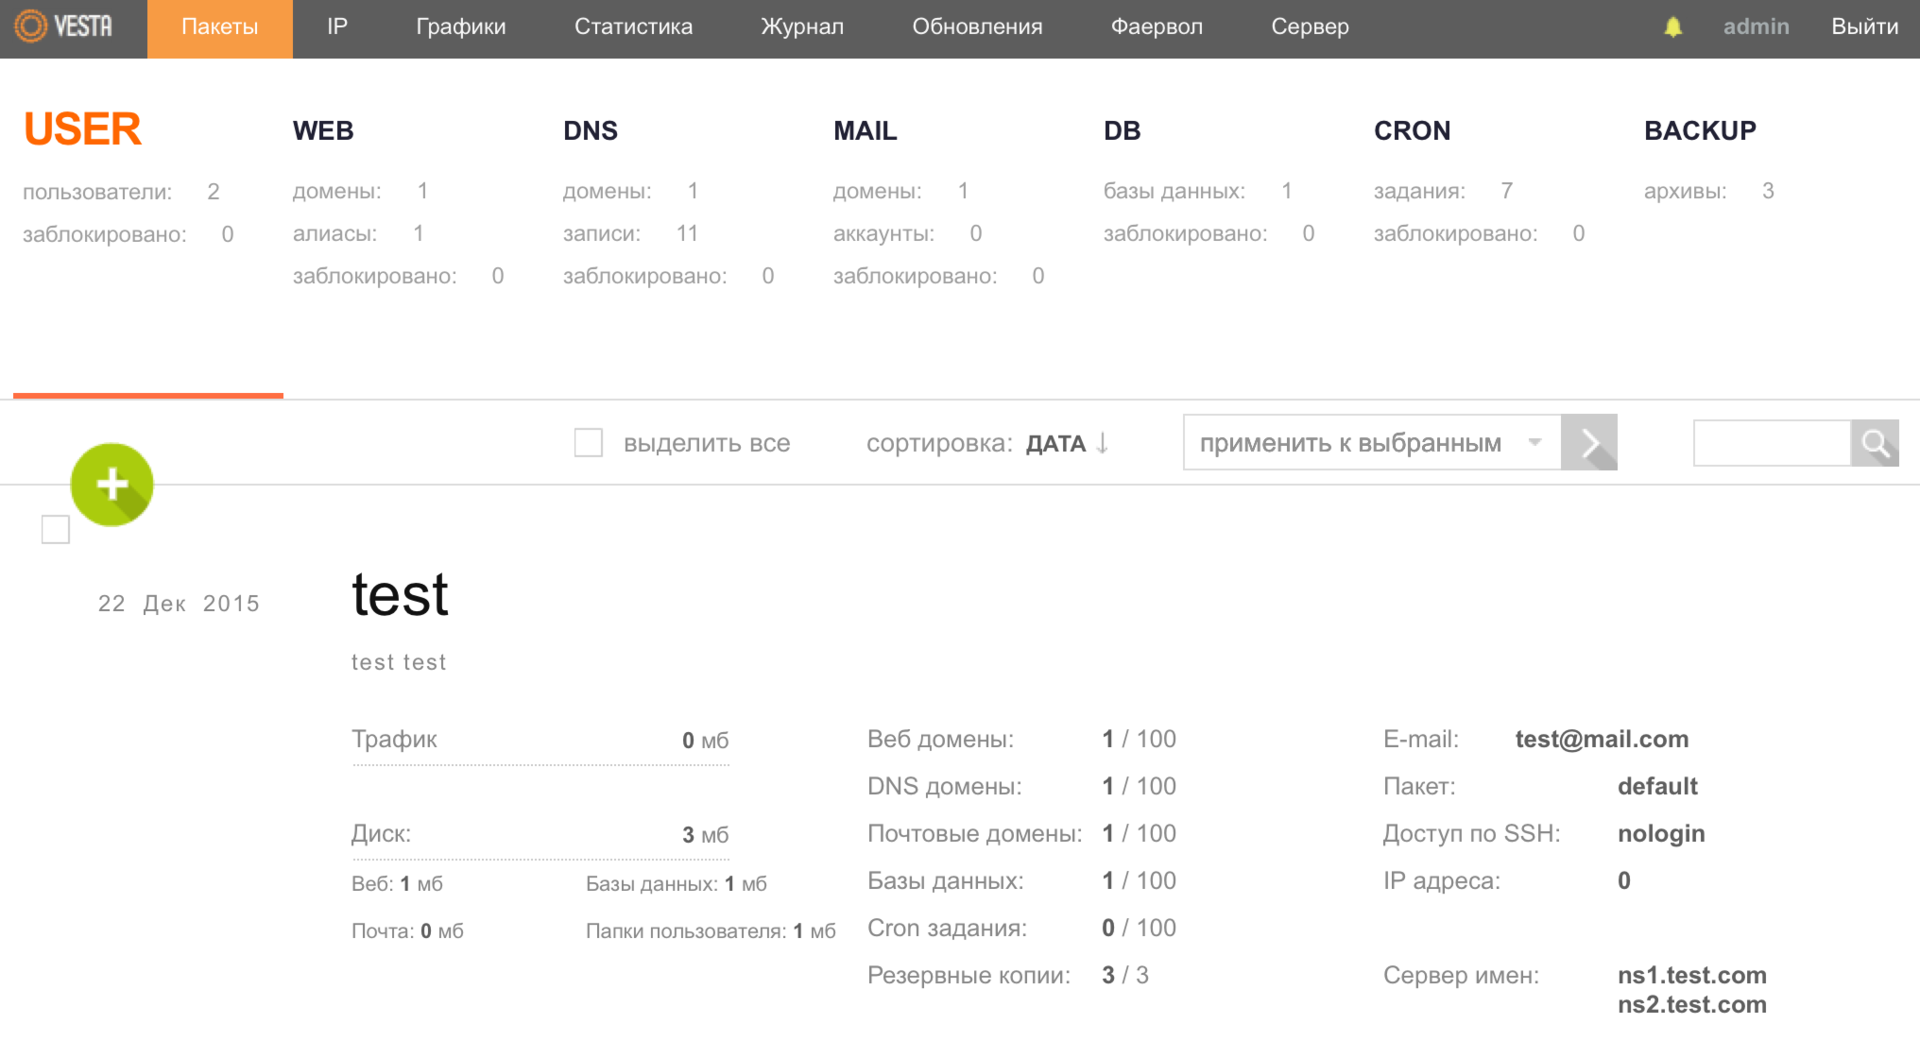
And edit the default package, specifying the name servers of your domain.

Also, one of the panel’s features is the creation of a DNS cluster, which will allow the zones to be automatically copied to other servers.
Cron
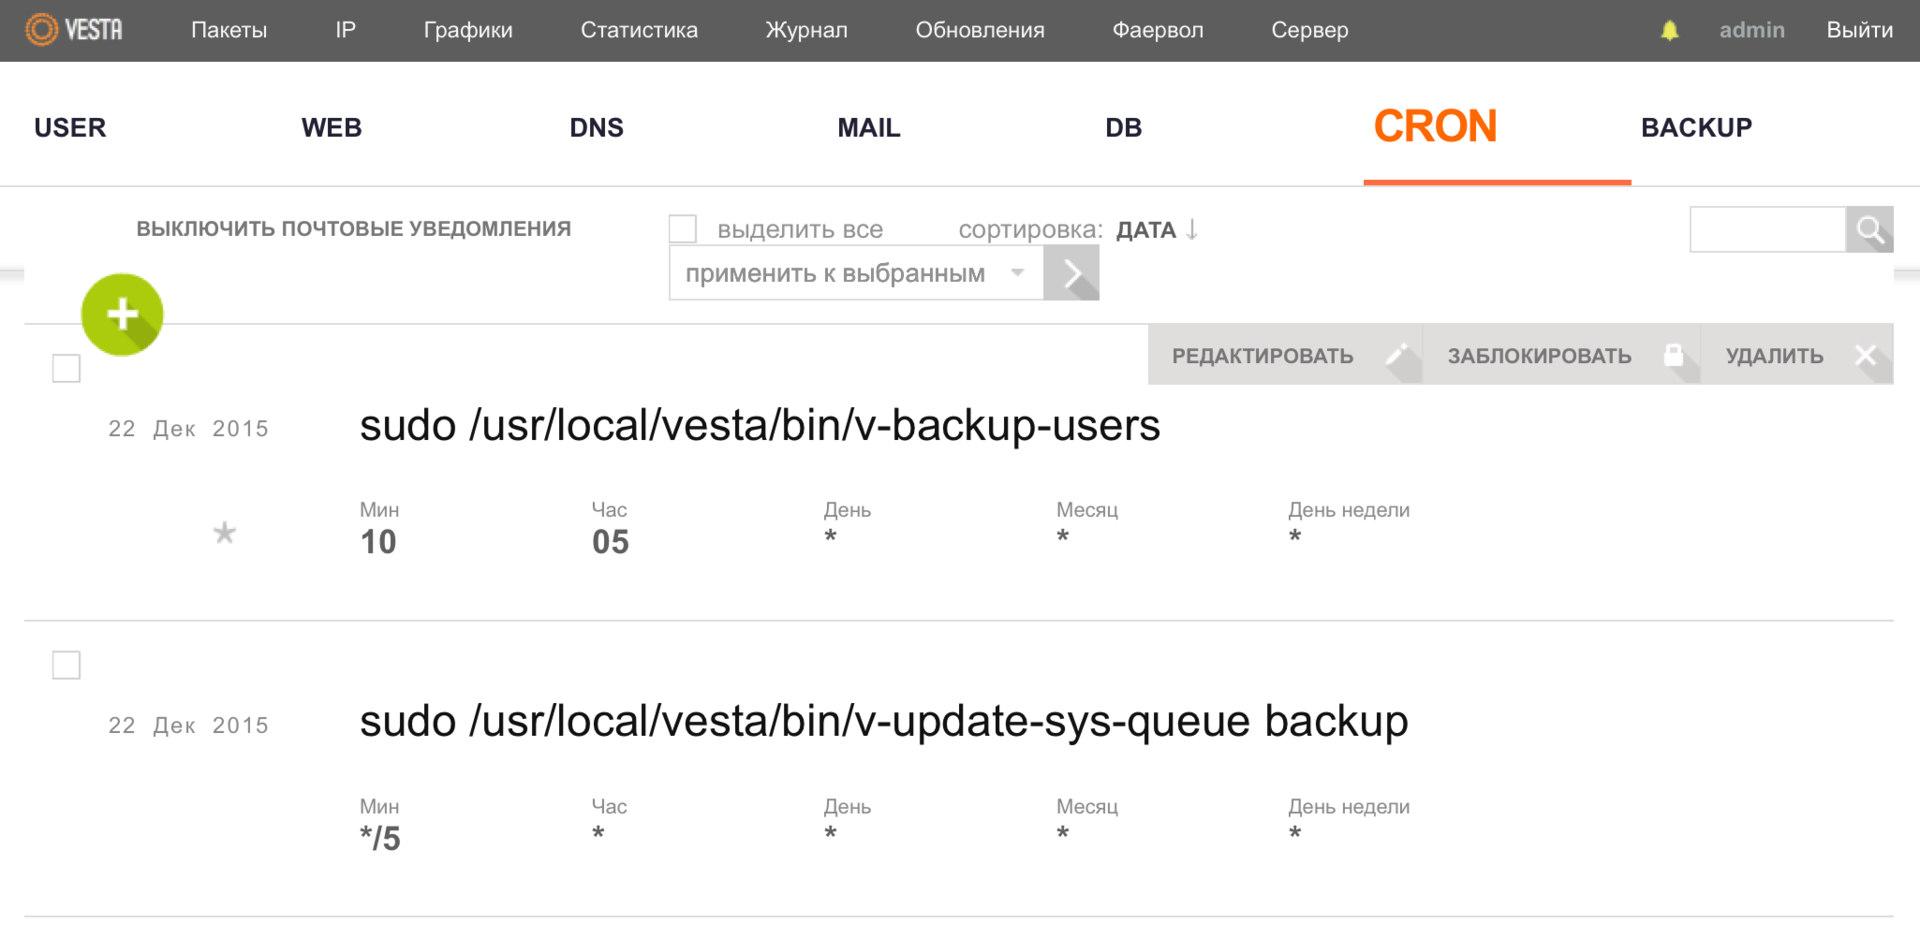
In the CRON menu section, you can view the entire list of tasks and, if necessary, make changes to it (add/delete/block a task).
Backup
Vesta control panel has a convenient web interface for setting up backup to a remote FTP / SFTP server. To do this, go to the BACKUP menu and use the a key to start creating a new archive, the following message will be displayed on the screen:
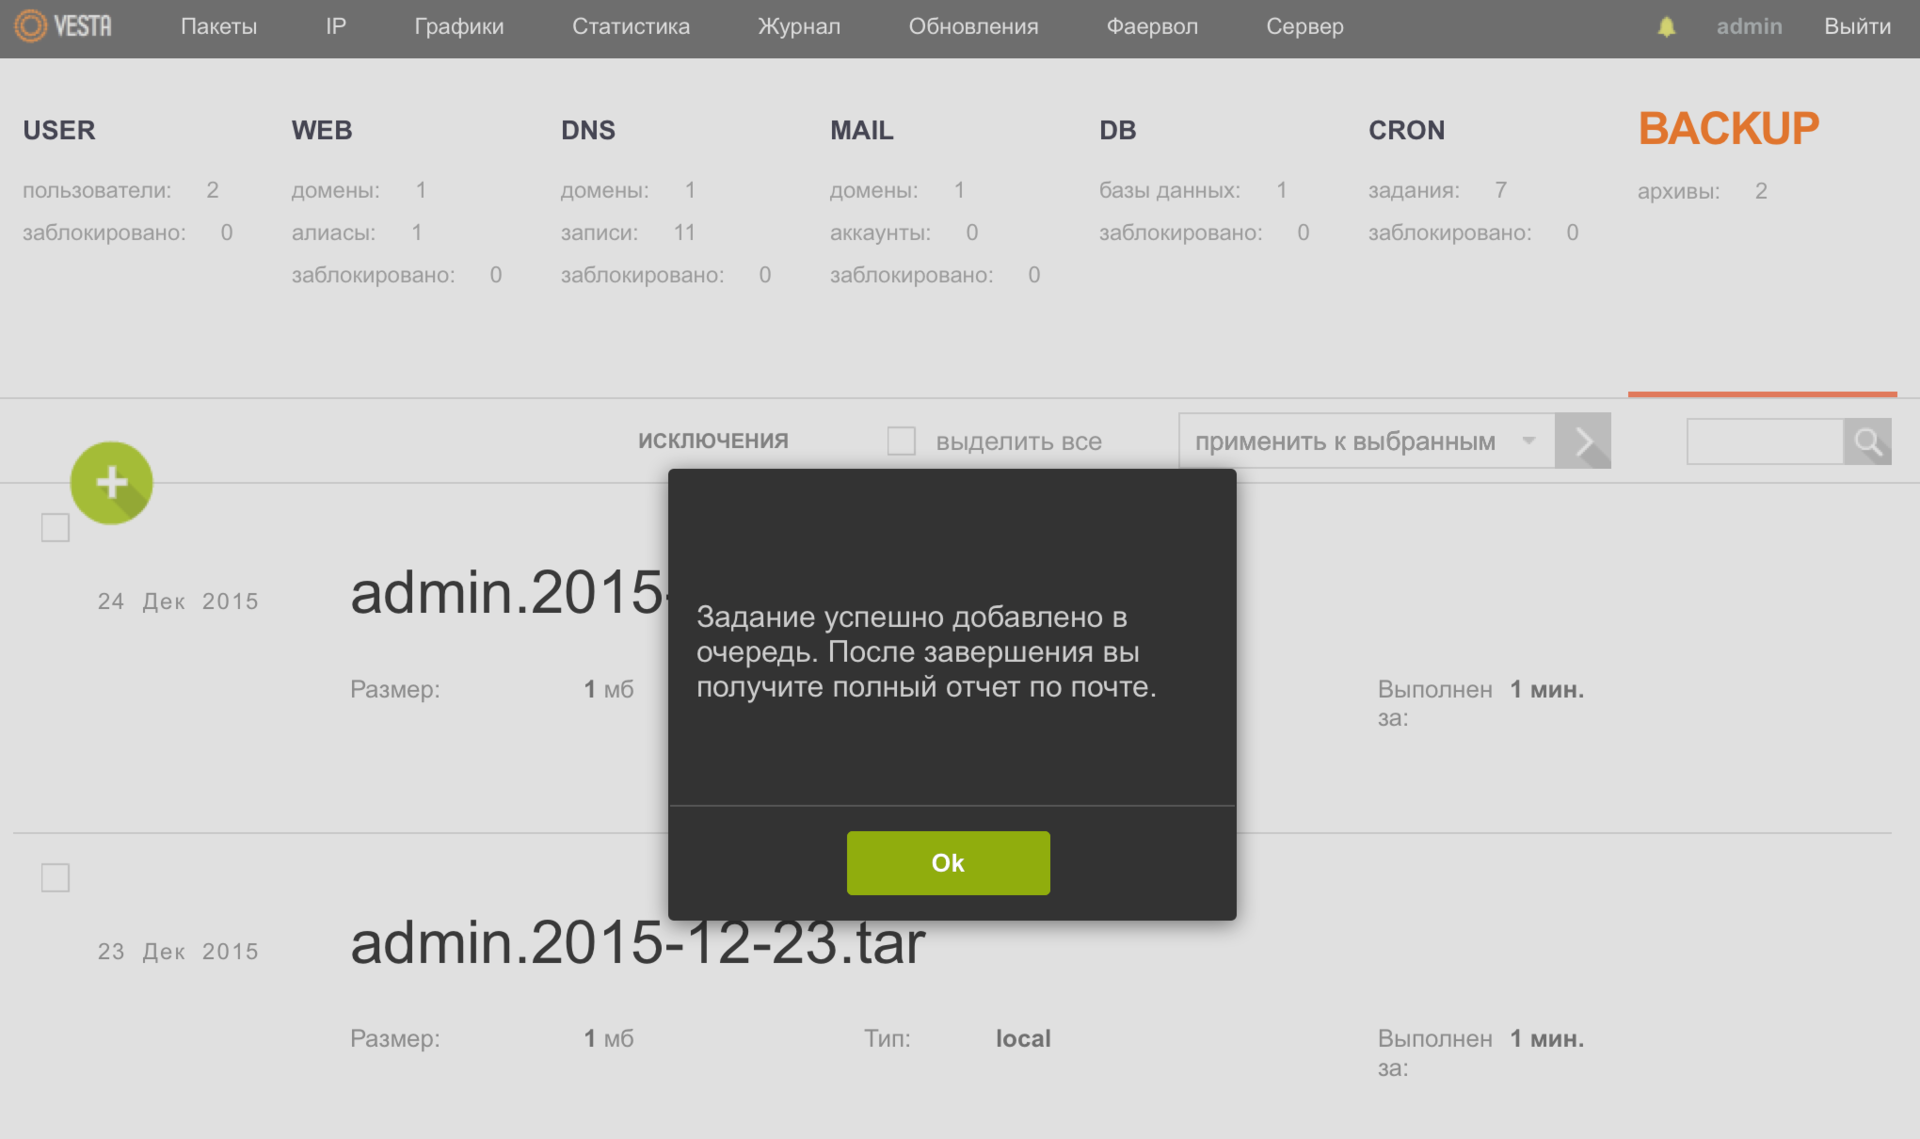

Safety
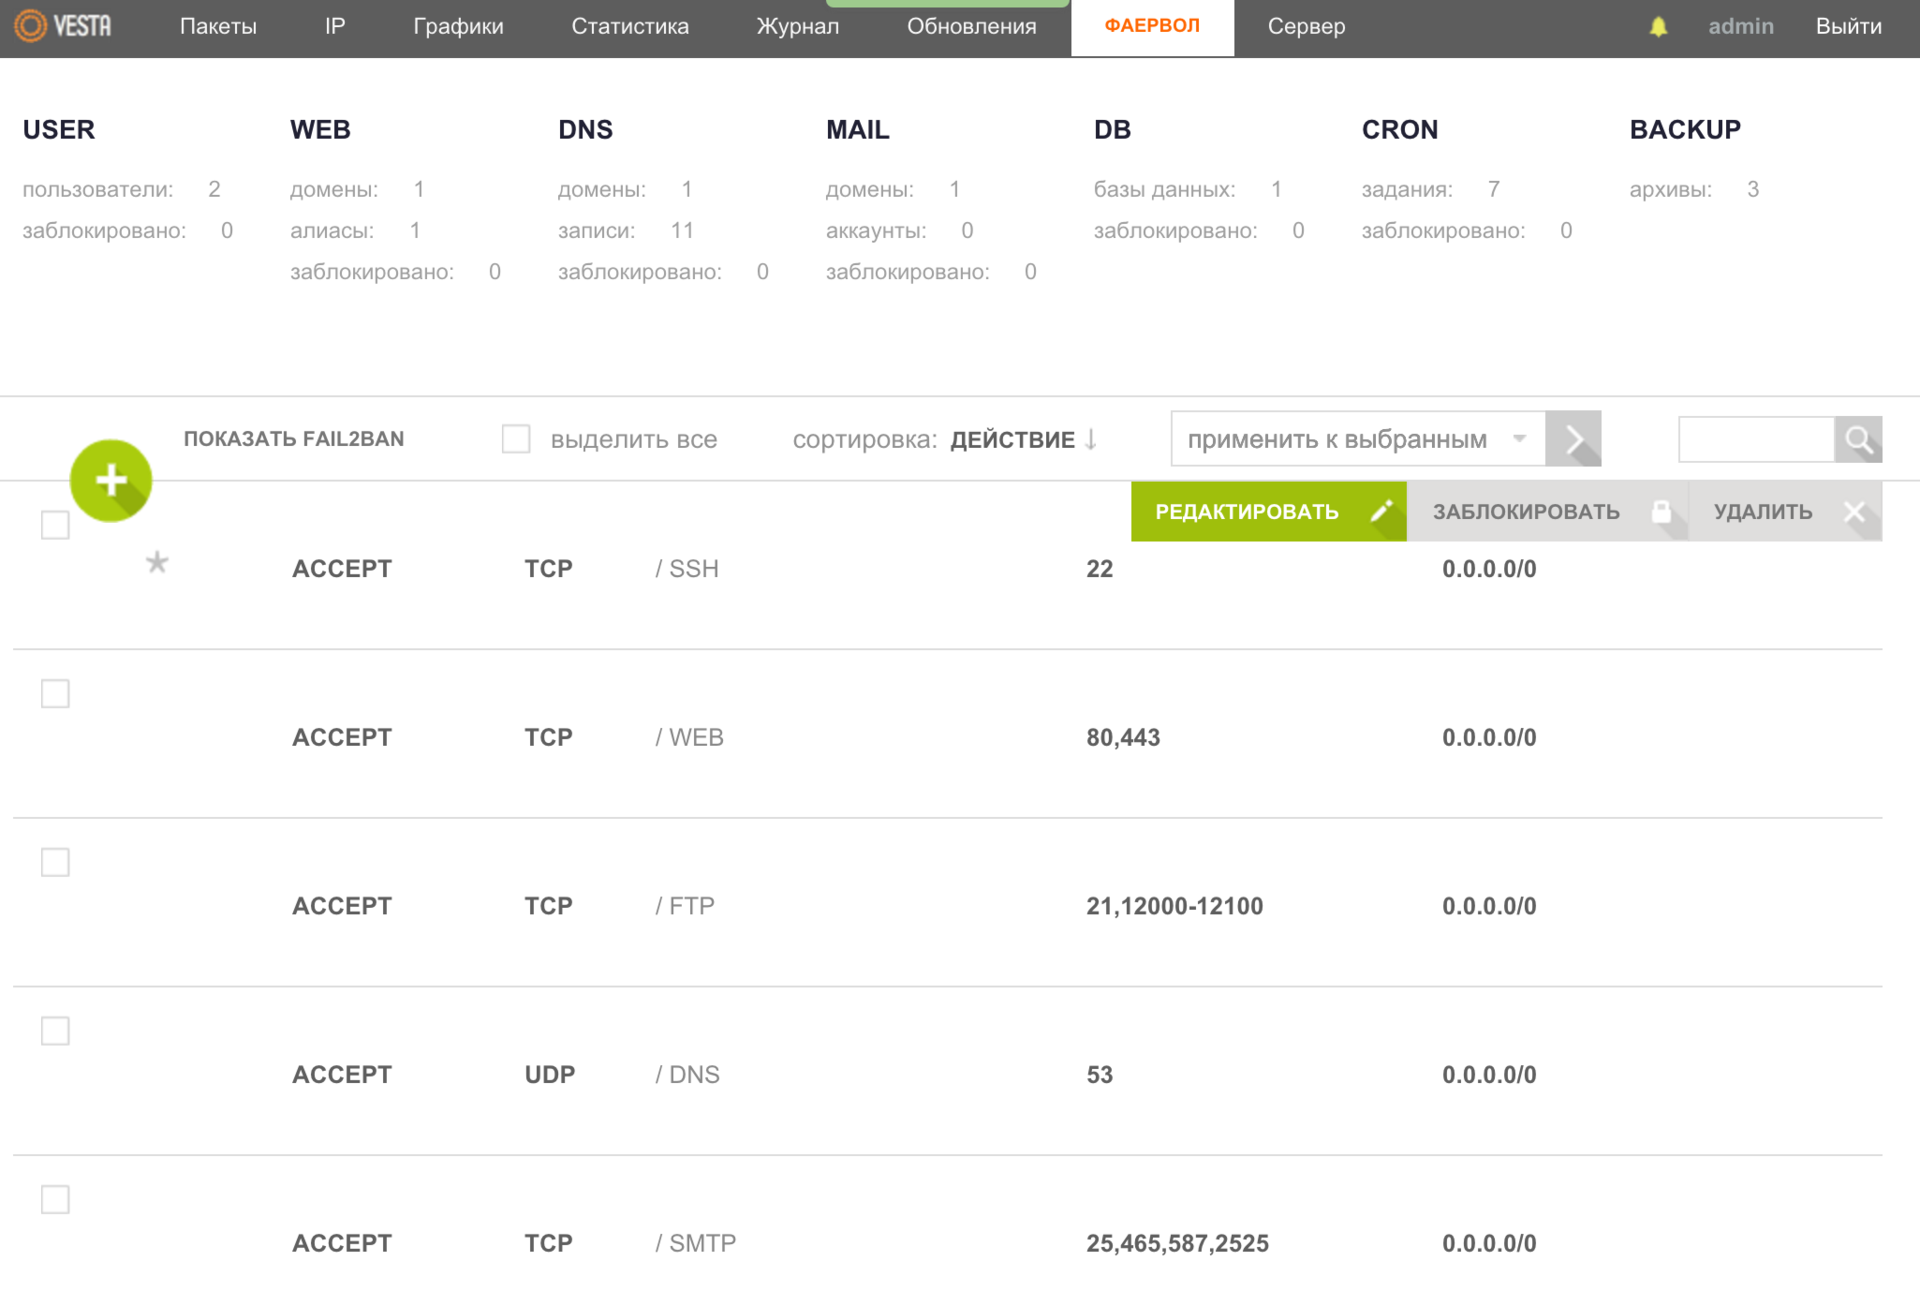
Where, with the help of the available functionality, it is possible to make the necessary settings, including for Fail2ban.
Reports
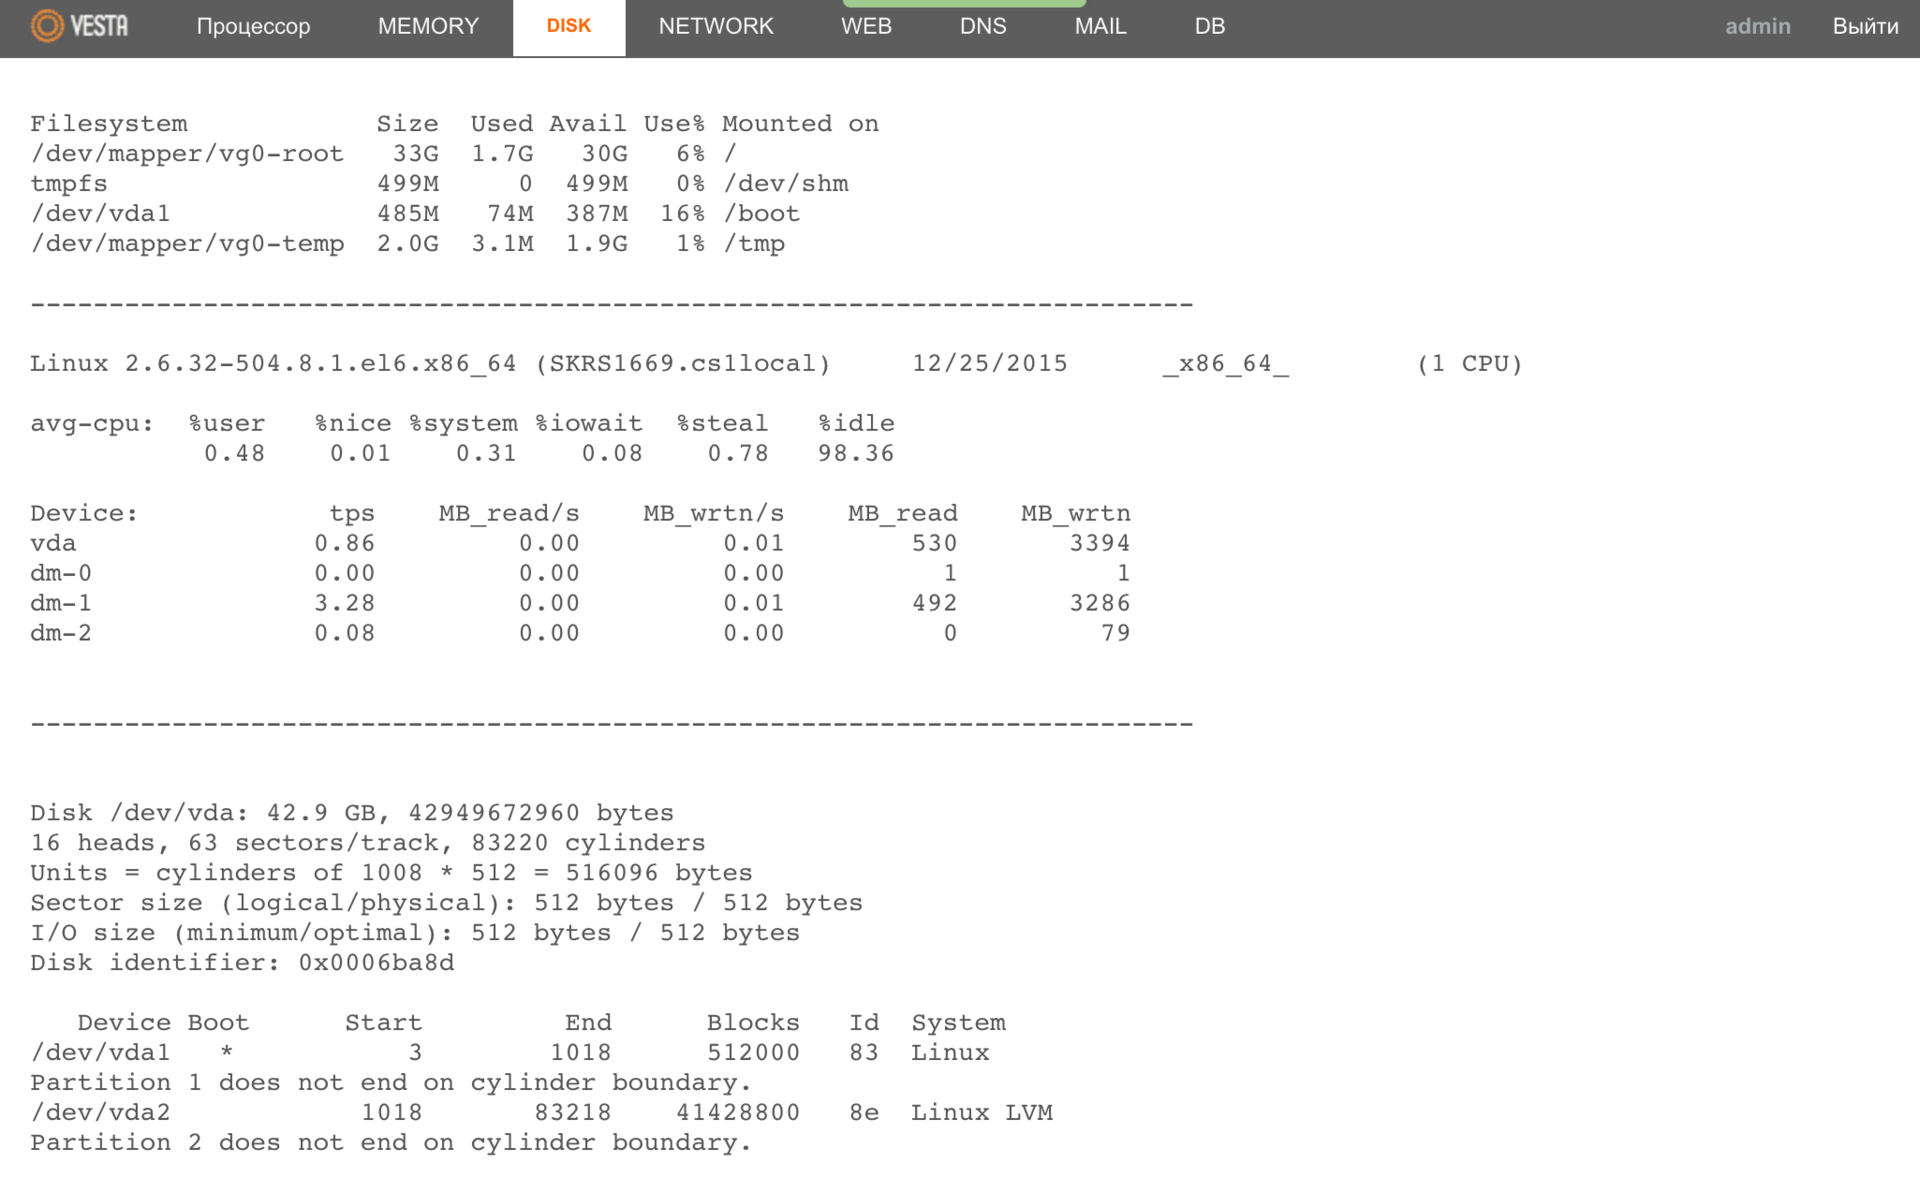
The control panel of Vesta has a very well implemented collection of statistics and various data that can help you analyze the performance of your server. For example, in the Server menu, you can see how much RAM a particular process consumes.
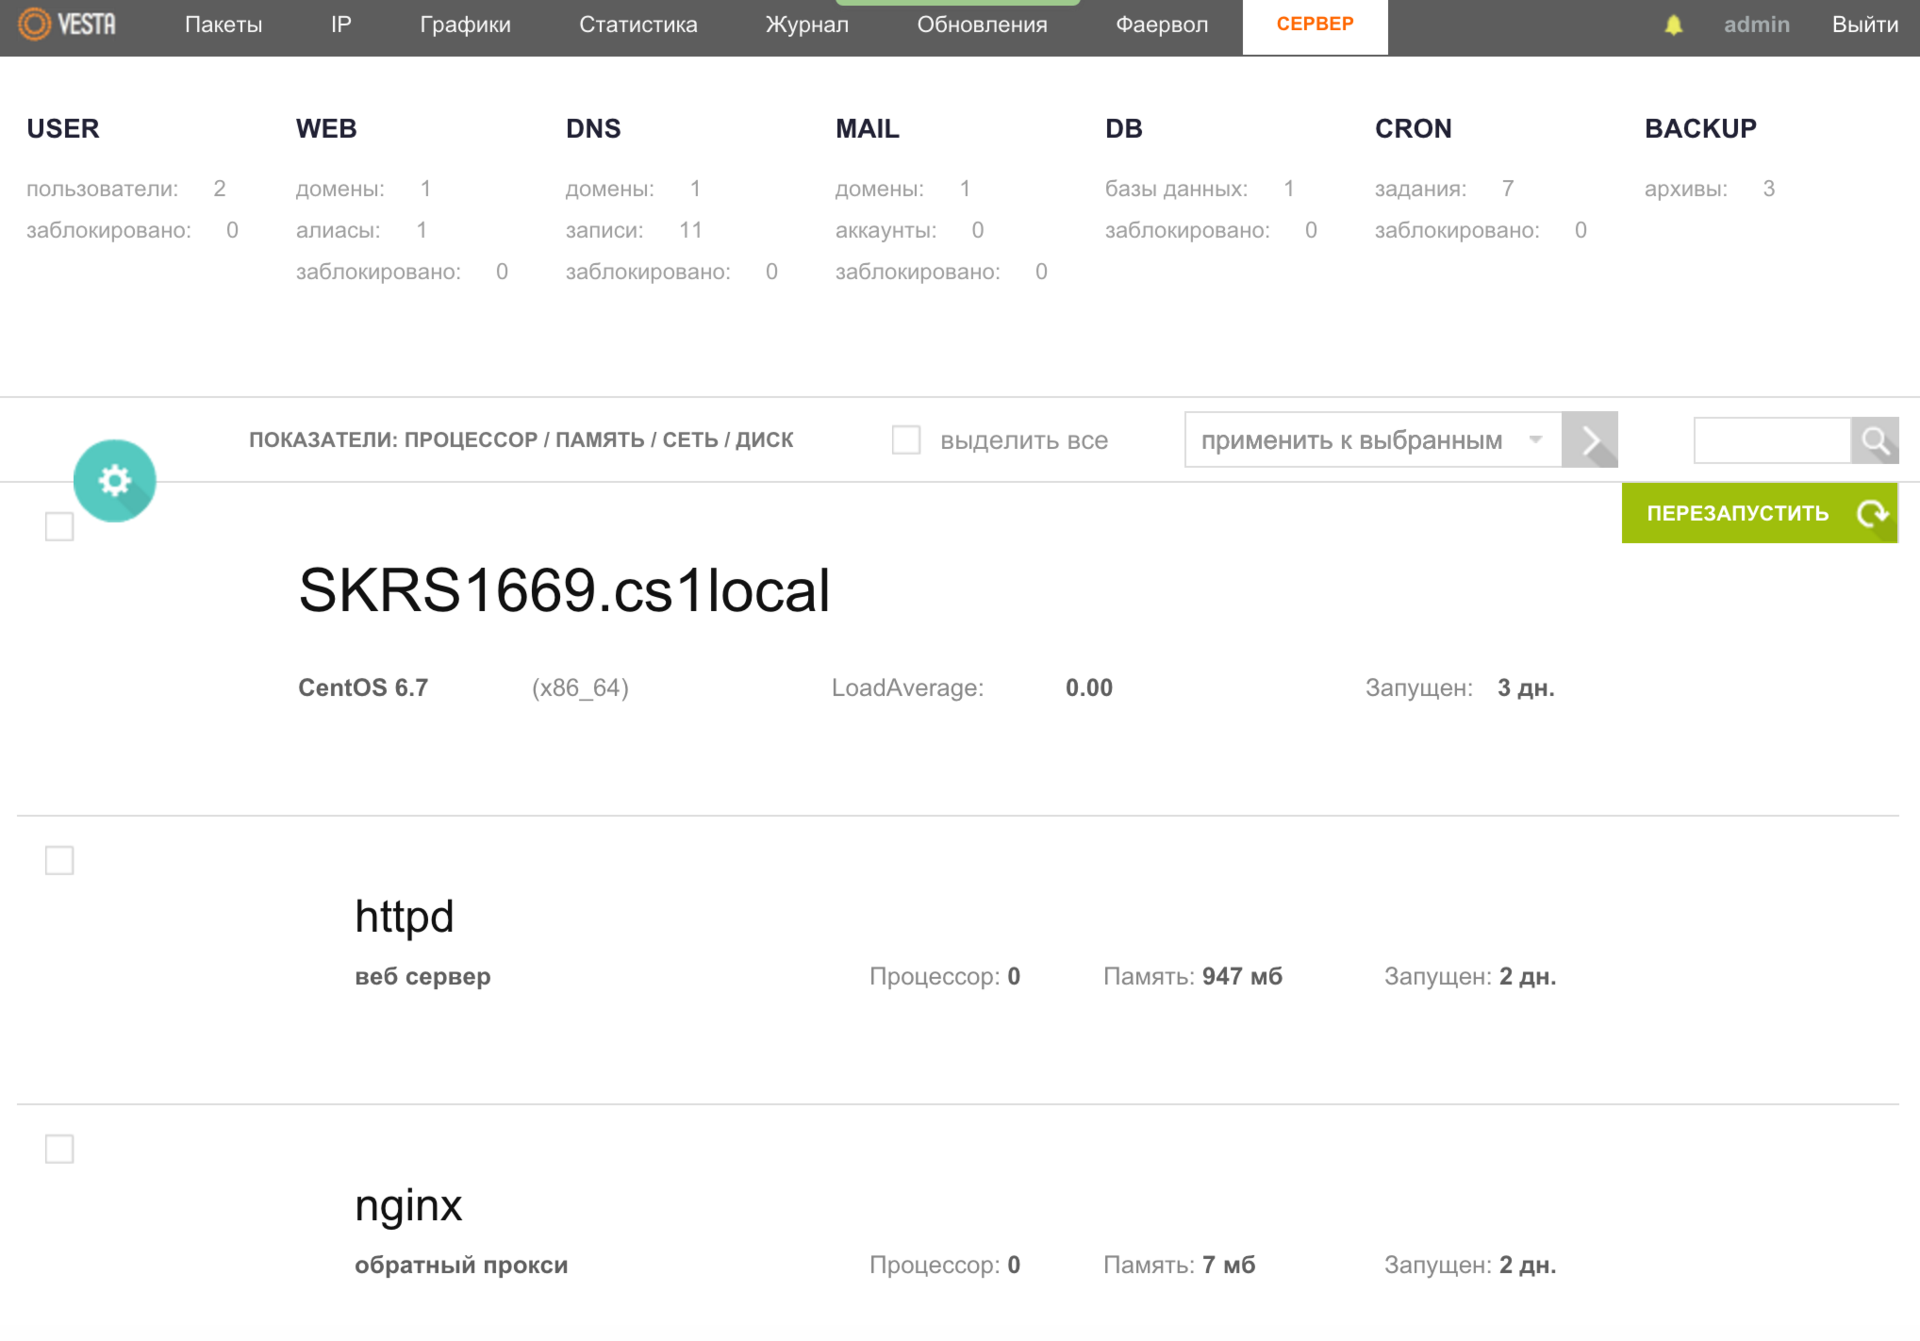
Also, if you want to study the indicators of the processor (s), memory, network, disk (s), etc., you can get more detailed data on various parameters: server technical characteristics, what requests are sent to the web server and in the database, it is possible to make a report on sent letters and much more.
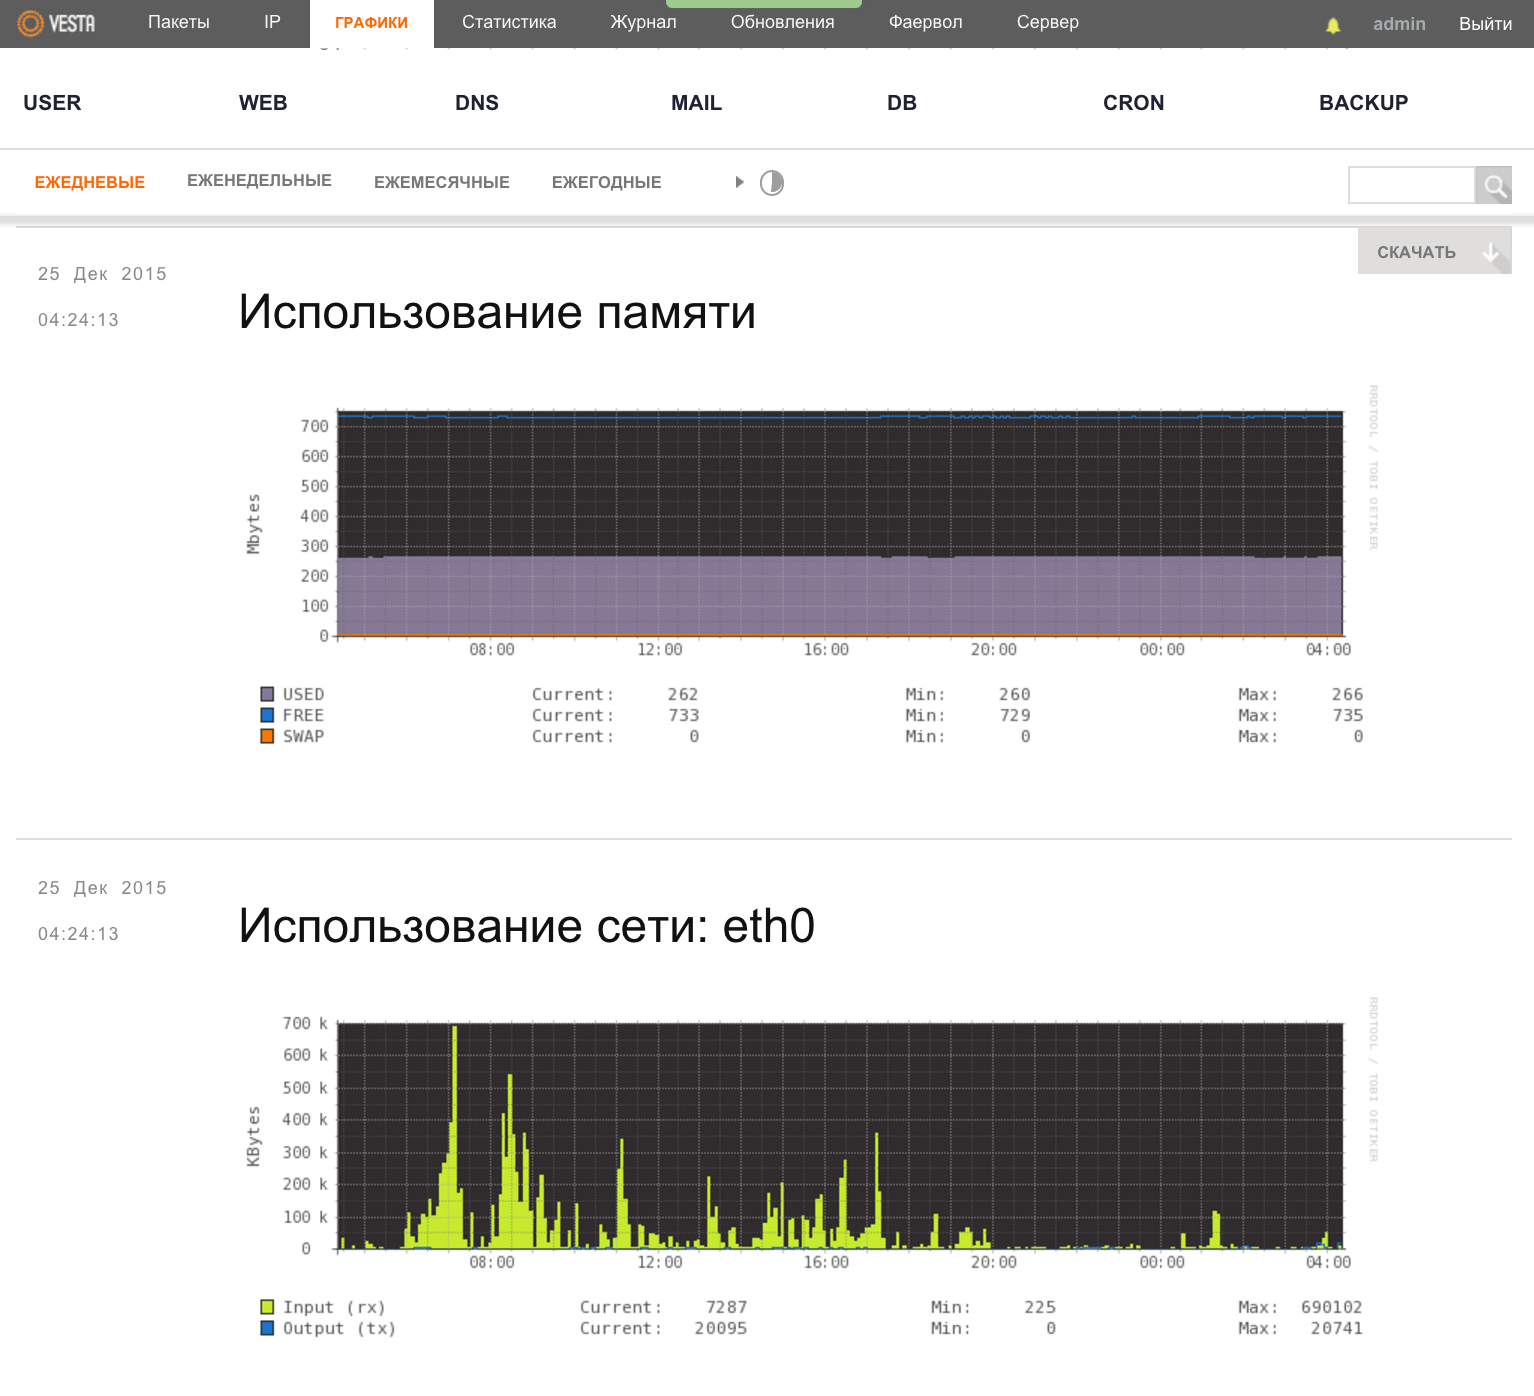
Do not forget about load graphs, which can also help you analyze server performance.
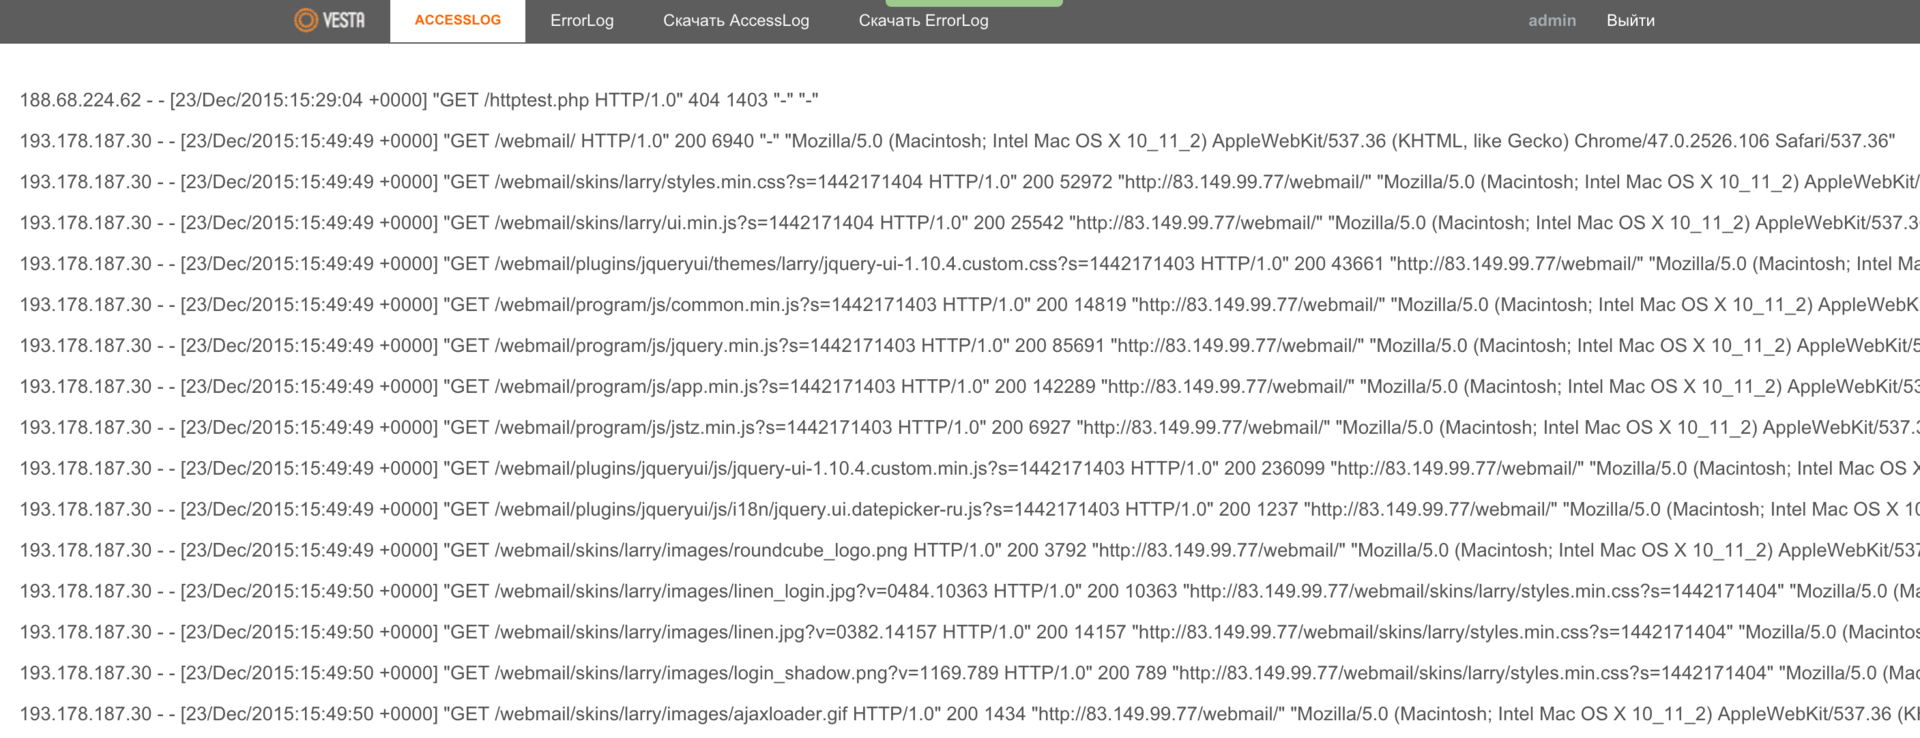
And for those for whom this is not enough, there is an opportunity to view domain logs live — WEB menu, VIEW LOGS button.
API
The Vesta panel has an API that can be used as a framework for creating your own interfaces. For example, you can create a platform for blogs or online stores. The developers told me that several of their large clients use the panel in this way.
Updates
Vesta control panel updates can be automatic, but this feature is disabled by default. All updates are managed through the corresponding menu.
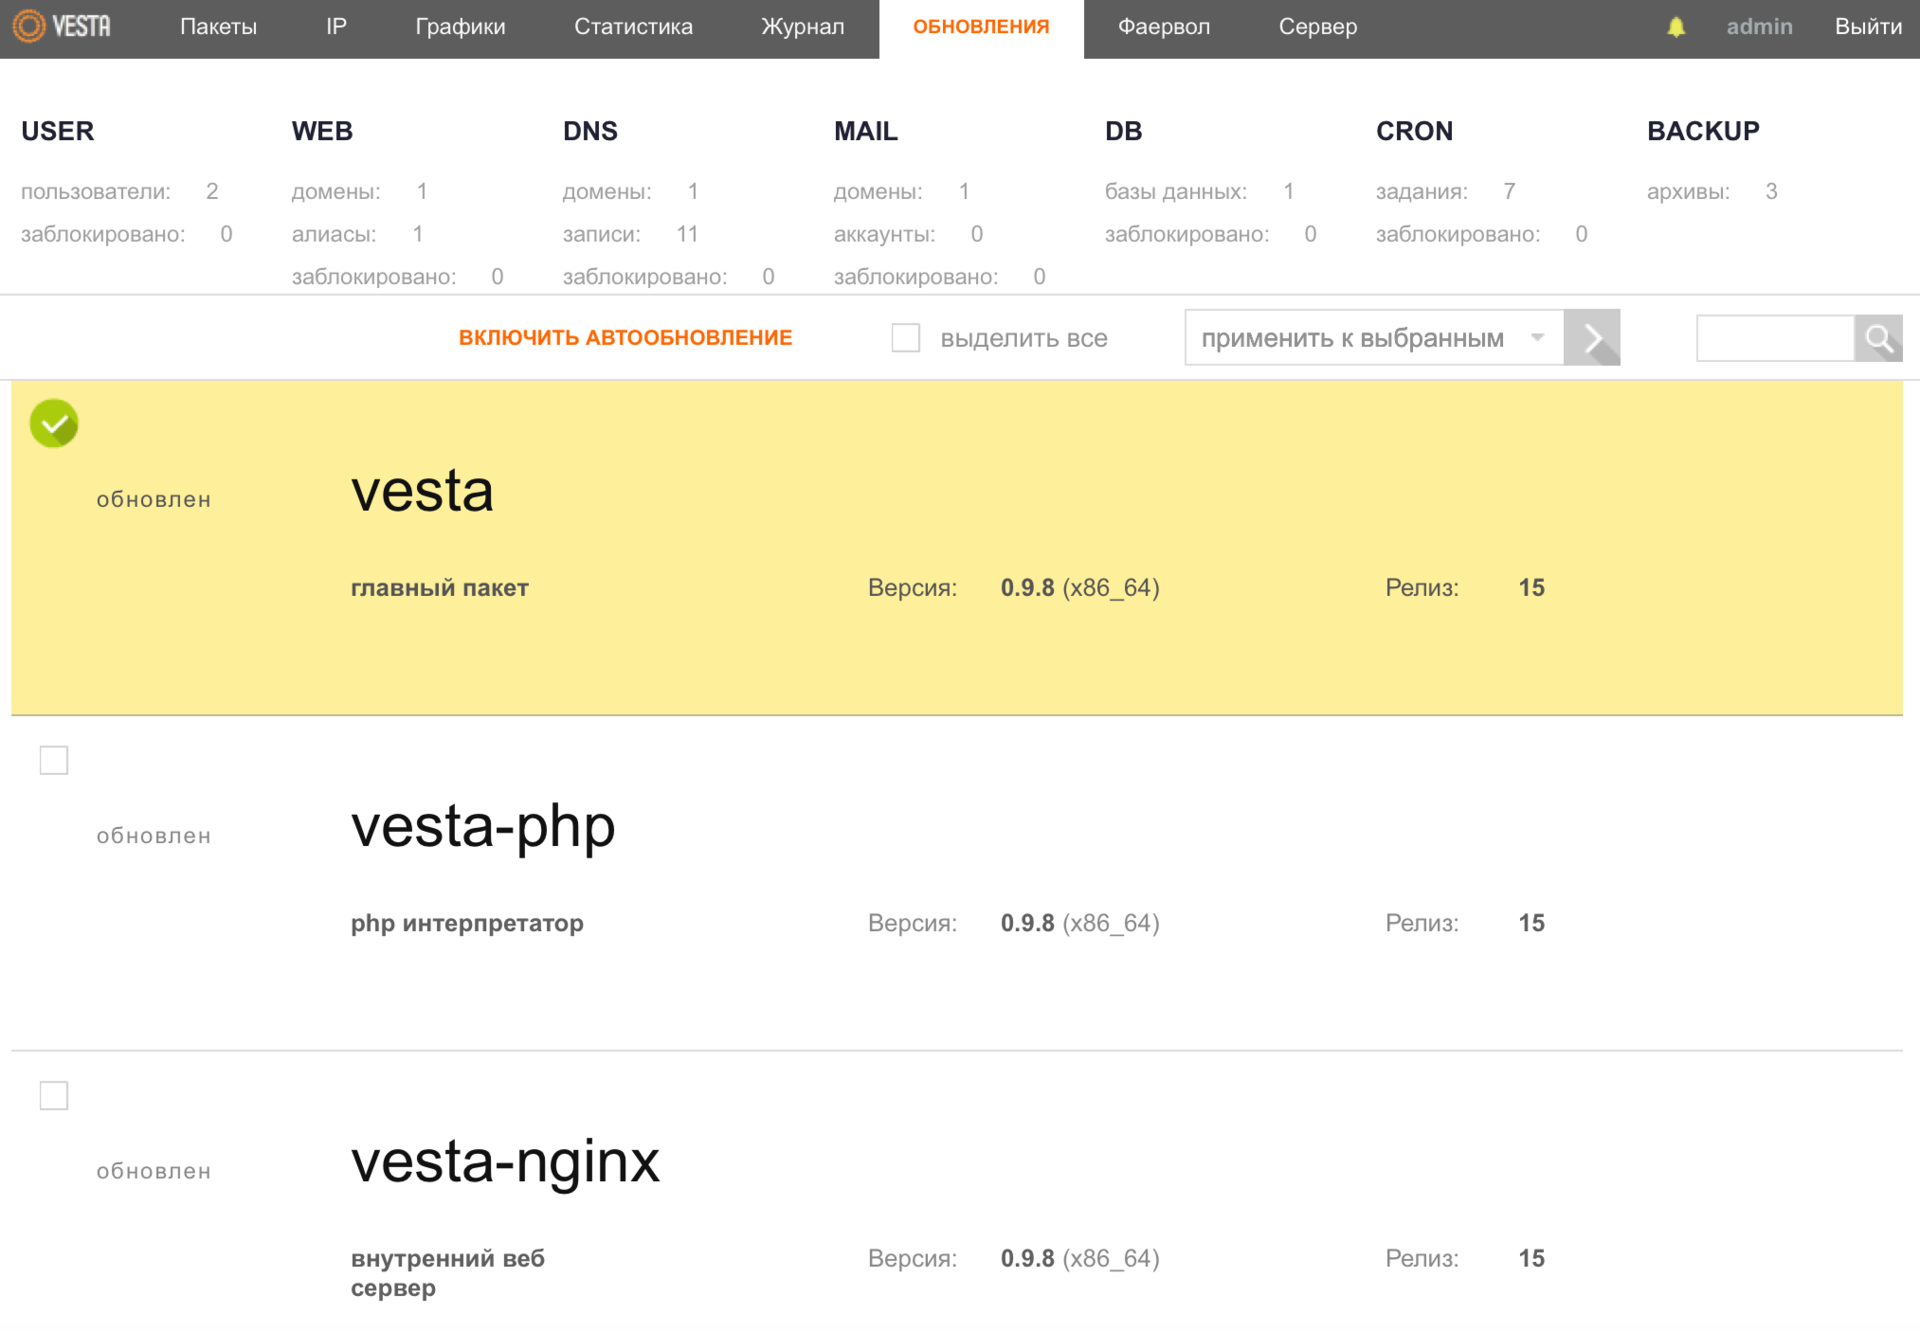
When an update is released, the packages in this section of the menu will be highlighted in red, and the Update button will appear. If necessary, you make one click and you’re done.
A little patience and together with you I will look into the near future of the «goddess». Do you want to see what “buns” the developers are preparing for you in the next release of the Vesta panel?
Buns
I think that almost every software product has its own characteristics. We have already mentioned some of them earlier, but there are those that I specifically left for “dessert”.
At one time, the guys released several paid extensions to somehow cover the costs of supporting and developing this panel.
The first of them is magical, in other words, I simply cannot convey the convenience of its UI, the file manager. As soon as you activate the plugin, the Files menu item will appear, when you switch to it, the following window will open:
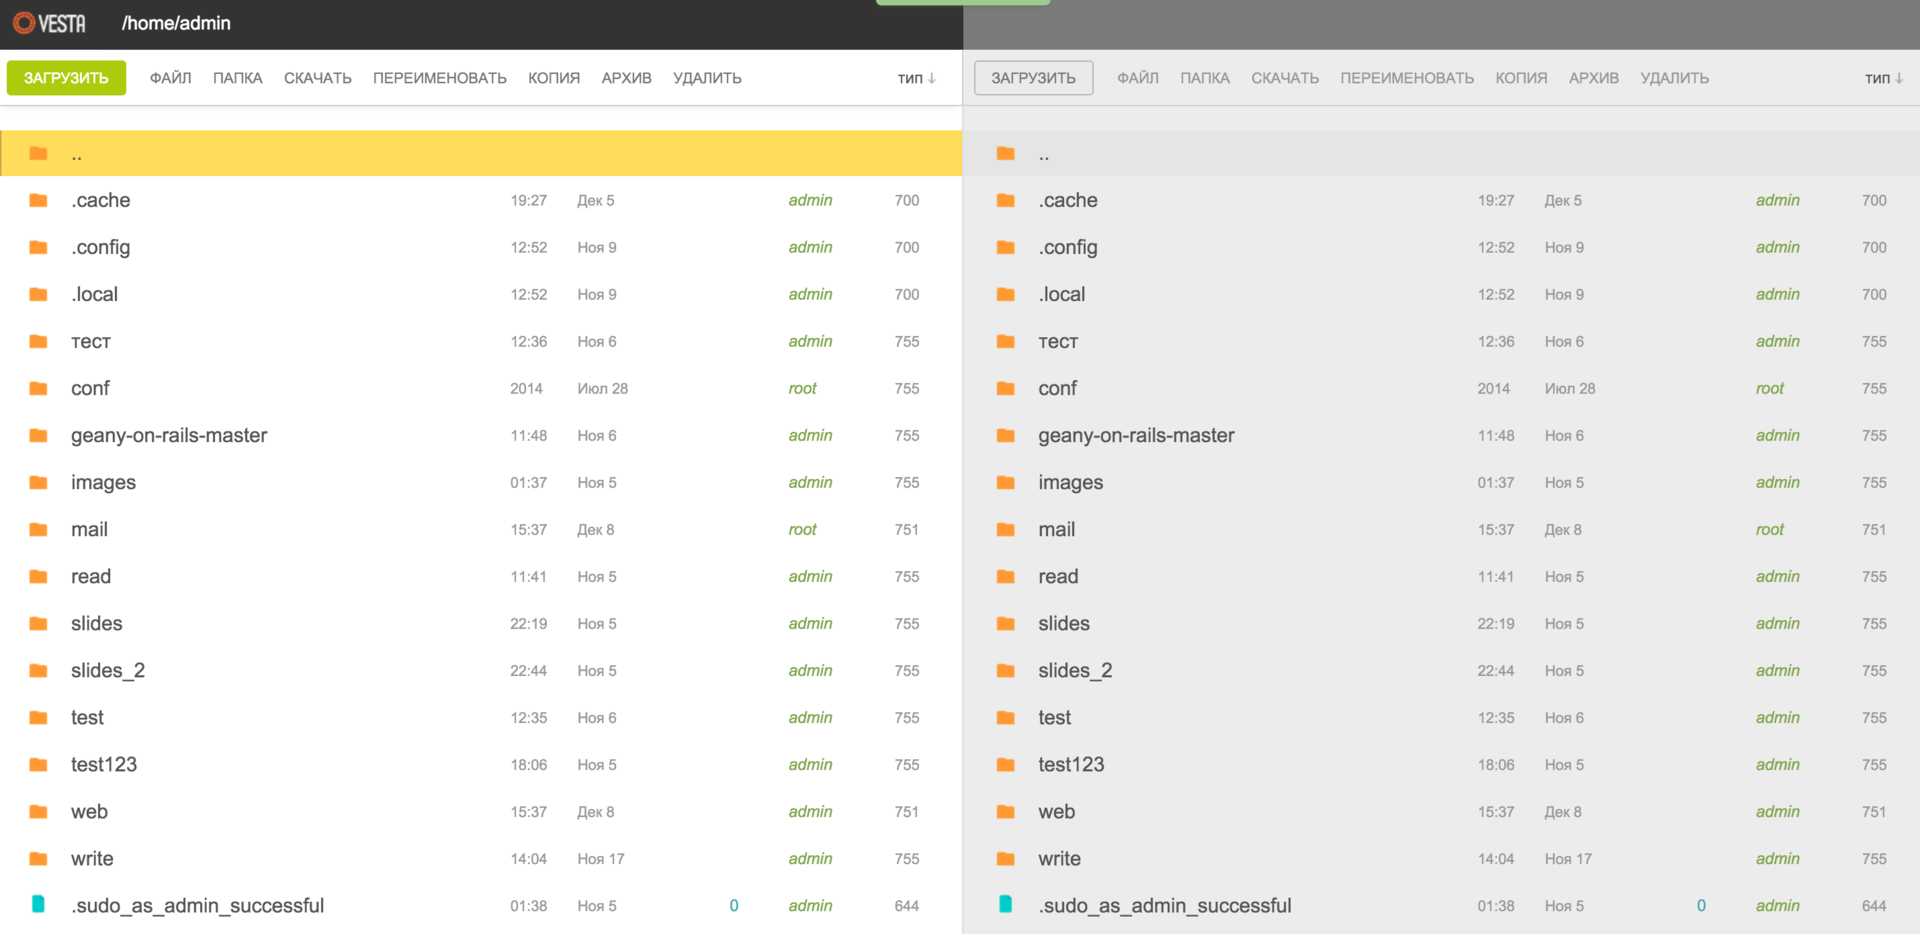
I agree that the first impression may be a bit exaggerated, but you haven’t seen the set of available SHORTCUTS yet and haven’t even started working with the file manager itself, right?

The development team does not hide the fact that the hotkeys were borrowed from the excellent GNU Midnight Commander file manager. Well, really, why not take what is really convenient? And trust me, you will have the opportunity to see for yourself.
The second paid extension is SFTP Chroot. This plugin may be of more interest to those of you who provide hosting services and also share your server with other users. Next, I would like to quote the developer himself regarding this additional «feature» to improve security:
The FTP protocol is insecure because all passwords are transmitted in clear form without encryption. Sitting in a cafe on public Wi-Fi, there is a risk that someone will intercept the data. To enable SFTP, you need to issue a system shell to the user, however, this will allow the user to view not only his own directories, but also system directories, such as /etc, /sbin or /bin. This is not a problem if the server is used by 2-3 developers. But when it comes to giving access to people who are not fully trusted, a dilemma appears. The SFTP Chroot module helps to solve it. If the module is activated, then on all accounts without a real shell (/sbin/nologin), a special SFTP connection mode is enabled. Such accounts can only see files in their home directory and that’s it.
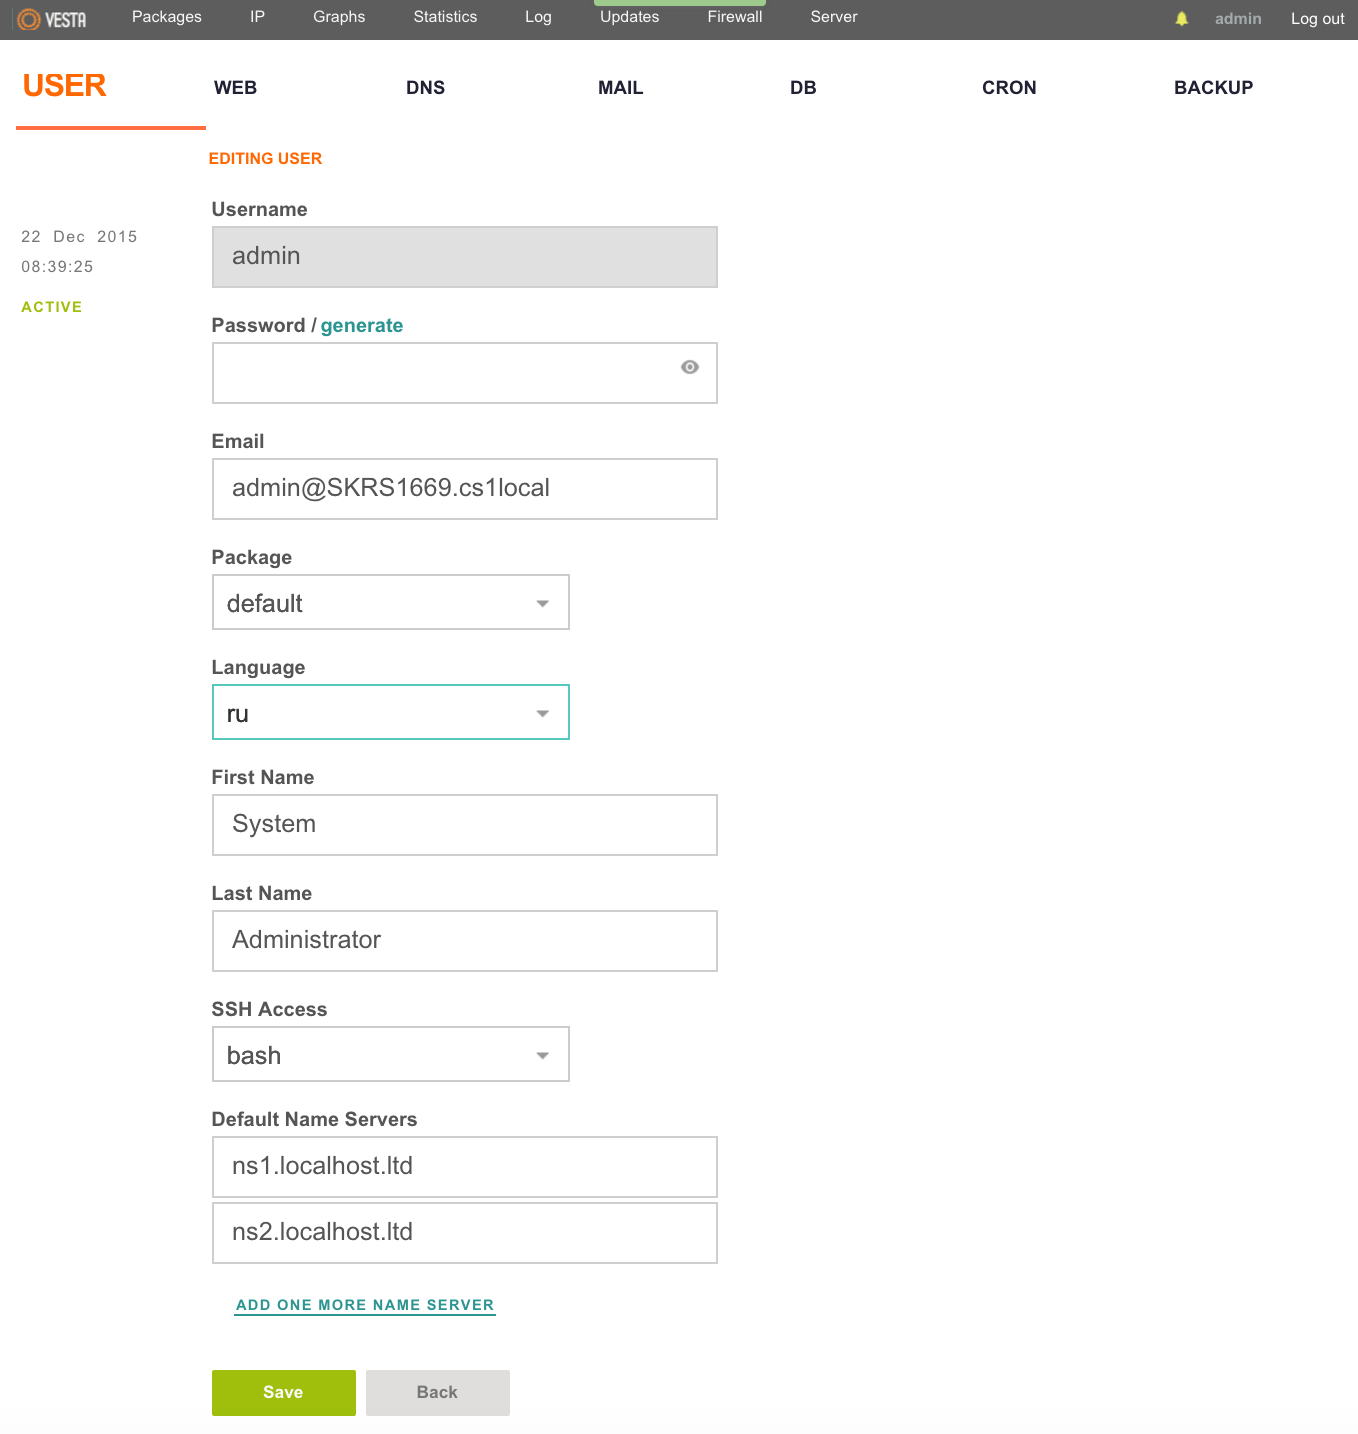
After activating this extension, it is necessary for a specific user in the account settings to select the desired parameter from the drop-down list, as shown in the screenshot below:

Are you still thinking about which panel to choose? Then I continue and move on to the most «delicious goodies» of the next release of the Vesta panel.
There will be additional hotkeys that will allow you to fully control the panel using the keyboard — it’s cool.
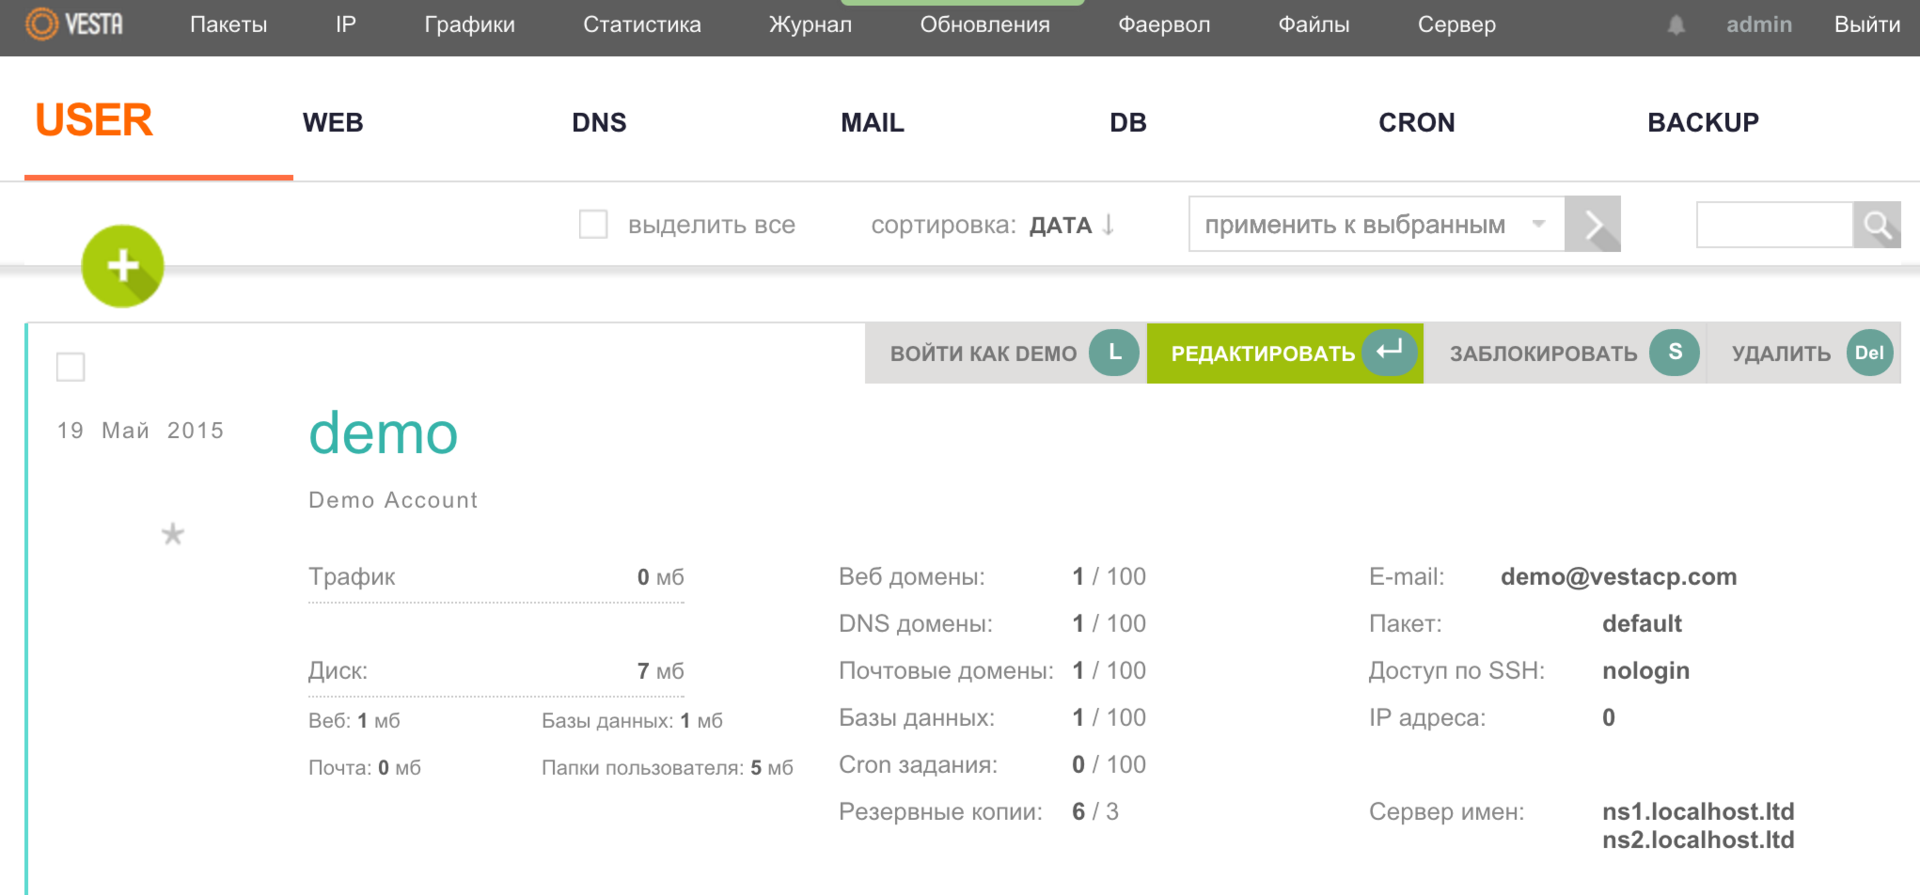
It will also be possible to get a free SSL certificate from the Let’s Encrypt project in just one click. And as skid himself assured me, this functionality is already at the final stage of testing.
I will not reveal all the details of the upcoming release, but rather I will leave some “food for thought” to you, our dear readers. All details at the end of the post.
As a thank you, I would like to list by name each of the development team of this truly “goddess”:
And also to inform you that people from different parts of the world take part in the development of this product, as evidenced by the number of language versions of the panel, as well as account statistics on the GitHub project. And the developers themselves admit that they are pleasantly surprised by the interest and desire of some users to support their project.
Keep it up guys!
P.S. To support the project on our part, we, together with the development team, decided to provide each of our clients who rent the cloud VPS service with the opportunity to activate both commercial extensions of the Vesta panel for free for one service with superuser access. To do this, after placing an order, simply create a ticket to the sales department and we will activate the plugin(s) for you.
P. P. S. The developers, for their part, also decided to hold a promotion and give you the opportunity to get an additional 30% discount when ordering eternal versions of licenses for paid Vesta extensions. When placing an order, simply use the HABR coupon, which will be valid until January 15th.
Changing iptables rules
In the web interface of the panel, go to the «FIREWALL» section: https://IP-BOXA:8083/list/firewall/ .
Here you can edit and delete existing rules, as well as add new ones.
The form for adding new rules has 2 drop-down lists: the first one allows you to select an action (DROP or ACCEPT), the second one — protocol (TCP,ICMP,UDP).
This way you can only add rules for incoming connections. Besides, it can only be simple rules.
For example, you can allow access to port 25 for everyone. Select the ACCEPT action, TCP protocol, enter 25 in the port field, and 0.0.0.0/0 in the IP field. As a result, the entry in iptables will look like:
-A INPUT -p tcp -m tcp —dport 25 -j ACCEPT
In order for the new rules to be saved after a reboot, execute in the console:
Let’s Encrypt certificate installation
In the current version of the panel, this is enough to automatically install an SSL certificate.
If the panel is not up to date, or the automatic installation fails, or you need to set specific certificate parameters, you must install the SSL certificate manually from the console.
In console
Let’s Encrypt SSL certificate can be installed on a combination of any OS and web server using certbot . After selecting the options in the drop-down list, you will be redirected to a page with specific installation recommendations.
To simplify the interaction between Vesta and Let’s Encrypt, there is a letsencrypt-vesta utility.
You can automate the installation process by running the following ssl.sh script on your account (attached to the article), its code is:
The -a switch reports the need to renew the certificate every N days (60 in the example).
Successful completion of the installation will give:
IMPORTANT NOTES:
— Congratulations! Your certificate and chain have been saved at:
/etc/letsencrypt/live/test.moodle.pzdk.ru/fullchain.pem
Your key file has been saved at:
/etc/letsencrypt/live/test.moodle.pzdk.ru/privkey.pem
Your cert will expire on 2018-04-10. To obtain a new or tweaked
version of this certificate in the future, simply run certbot-auto
again. To non-interactively renew *all* of your certificates, run
«certbot auto renew»
— Your account credentials have been saved in your Certbot
configuration directory at /etc/letsencrypt. You should make a
secure backup of this folder now. This configuration directory will
also contain certificates and private keys obtained by Certbot so
making regular backups of this folder is ideal.
— If you like Certbot, please consider supporting our work by:
Donating to ISRG / Let’s Encrypt: https://letsencrypt.org/donate
Donating to EFF: https://eff.org/donate-le
Error: SSL=no doesn’t exist
warning: commands will be executed using /bin/sh
job 1 at Sun Mar 11 16:47:00 2018
Renewal scheduled for 60 days.
Error and warning can be ignored in this case. The entry «Renewal scheduled for 60 days.» means the certificate renewal is scheduled in 60 days.
When letsencrypt-vesta is already installed and configured, to add a certificate to the new domain newdomain.ru, just execute in the console
Web interface basic operations
To create a mailbox, go to the «MAIL» section, click on the «ADD ACCOUNT» button next to the mail domain name, then specify the mailbox name and password in the form fields. If necessary, authorization data can be sent to the desired postal address.
After that, press the «ADD» button.
Creating an FTP account
To create an FTP account, go to the «WEB» section, click on the «EDIT» button next to the domain name for which you want to create an account, scroll down the page that opens, check the «Additional FTP» checkbox and enter the data for the new account .
After that, press the «SAVE» button.
Working with Cron Jobs
Editing tasks is done in the «CRON» section.
You can add a job using the “+” (ADD CRON JOB) button. The fields for the task execution time can be filled in automatically if you select the frequency in the form on the right at the bottom of the section.
To change an already added task, press the “EDIT” button next to it.
Working with backups
To create a backup, go to the «BACKUP» section, click on the «+» (CREATE BACKUP). When the operation is completed, a notification will be sent to the administrator’s address.
You can change the number of maximum possible backups in the «PACKAGES» section by clicking on «EDIT» next to the template (DEFAULT by default) and changing the value of the «Backups» field. Typically, the default value is 3.
Creating a database
To create a database, go to the «DB» section, click on the «+» (ADD DATABASE), fill in the required fields. Authorization data can be sent to the desired postal address.
Changing PHP settings
To change the PHP settings in the «SERVER» section, click on «CONFIGURE» next to any web server, and then click on «CONFIGURE PHP. INI». Can be opened via a direct link: https://IP-BOX:8083/edit/server/php/
First, a form is displayed with fields for changing the following parameters:
To edit the php.ini file directly, click on the «ADVANCED OPTIONS» link below the form fields.
You can go back using the «BASIC OPTIONS» button.
To save the changes, press the «SAVE» button.
Working with PhpMyAdmin
By default, the size of the uploaded database dump cannot exceed 2MB, which is not enough for most dumps.
To fix this, you need to change the post_max_size and upload_max_filesize parameters in the panel settings according to the instructions from the previous paragraph.
Install custom SSL certificate
In the Vesta web interface, go to the «WEB» section, click on the «EDIT» button next to the domain name, scroll down, tick «SSL support» and enter the necessary data about the certificate:
SSL Certificate — domain certificate field.
SSL Key — field for the private key of the certificate.
SSL Certificate Authority/Intermediate — the field for the bundle (root certificate and intermediate chain), is optional.
Changing service configuration files
In the web interface, go to the «SERVER» section: https://IP-BOX:8083/list/server/ .
Here we select the service whose configuration needs to be changed. We click on the “CONFIGURE” button next to the name of the service, a file with its settings opens in front of us.
After making changes, so that they are applied immediately, check the “RESTART” checkbox before clicking on the “SAVE” button.
If something was entered incorrectly, the panel will report that it is impossible to restart the service and return the config to its previous form.
Therefore, this method of making changes for advanced users is more optimal than editing files on the server directly.
Web server configuration files for the site
The Vesta panel allows you to use different web server settings for each site.
Configuring open_basedir for Nginx+PHP-FPM
By default, the Nginx+PHP-FPM bundle in VestaCP does not allow enabling the open_basedir directive.
You can do this with the help of templates, which for php-fpm are stored in the /usr/local/vesta/data/templates/web/ directory.
To enable open_basedir you need:
Using multiple versions of PHP on a server with VestaCP
PHP 7.0 is installed by default with the Vesta control panel. If you want to use an older version of PHP, you can do so as follows.
Let’s install PHP 5.4 as an example.
Create directory for sources:
Download and unpack the source archive:
wget -O /etc/php/src/php-5.4.45.tar.bz2 http://de1.php.net/get/php-5.4.45.tar.bz2/from/this/mirror
cd /etc/php/src/
tar -xjf php-5.4.45.tar.bz2
cd php-5.4.45
Create a directory where our PHP 5.4 version will be located:
Configuration before compiling (pay attention to the —prefix= variable, it points to the directory where PHP will be compiled):
Enable CGI for Apache:
Version switching will be done using apache templates. Copy the existing phpcgi template:
cp /usr/local/vesta/data/templates/web/apache2/phpcgi.sh /usr/local/vesta/data/templates/web/apache2/php54.sh
cp /usr/local/vesta/data/templates/web/apache2/phpcgi.stpl /usr/local/vesta/data/templates/web/apache2/php54.stpl
cp /usr/local/vesta/data/templates/web/apache2/phpcgi.tpl /usr/local/vesta/data/templates/web/apache2/php54.tpl
Then open the file /usr/local/vesta/data/templates/web/apache2/php54.sh and replace:
The last step is to restart Vesta:
service vesta restart
Blocking IP addresses from which more than 100 requests to the site per second are received
The implementation of the settings is done on the main nginx+fail2ban.
Procedure for lock setting:
limit_req_zone $binary_remote_addr zone=one:10m rate=100r/s;
limit_req zone=one burst=1 nodelay;
service nginx restart
service fail2ban restart
Panel installation
Vesta is a popular free server control panel. The standard configuration of its software is quite demanding on resources: we recommend choosing a box with at least 2 GB of RAM.
Vesta is installed with two commands — downloading the Vesta panel script and running it on the VDS. And we also have a ready-made image with another build of this panel — Hestia. It has more features, and its developers release updates more often than Vesta developers.
The package manager may differ depending on the OS. The example shows installation on Ubuntu, so apt-get is used.
apt-get install curl
Upon successful completion of the installation, the console will display
